
Compact setups for home studios
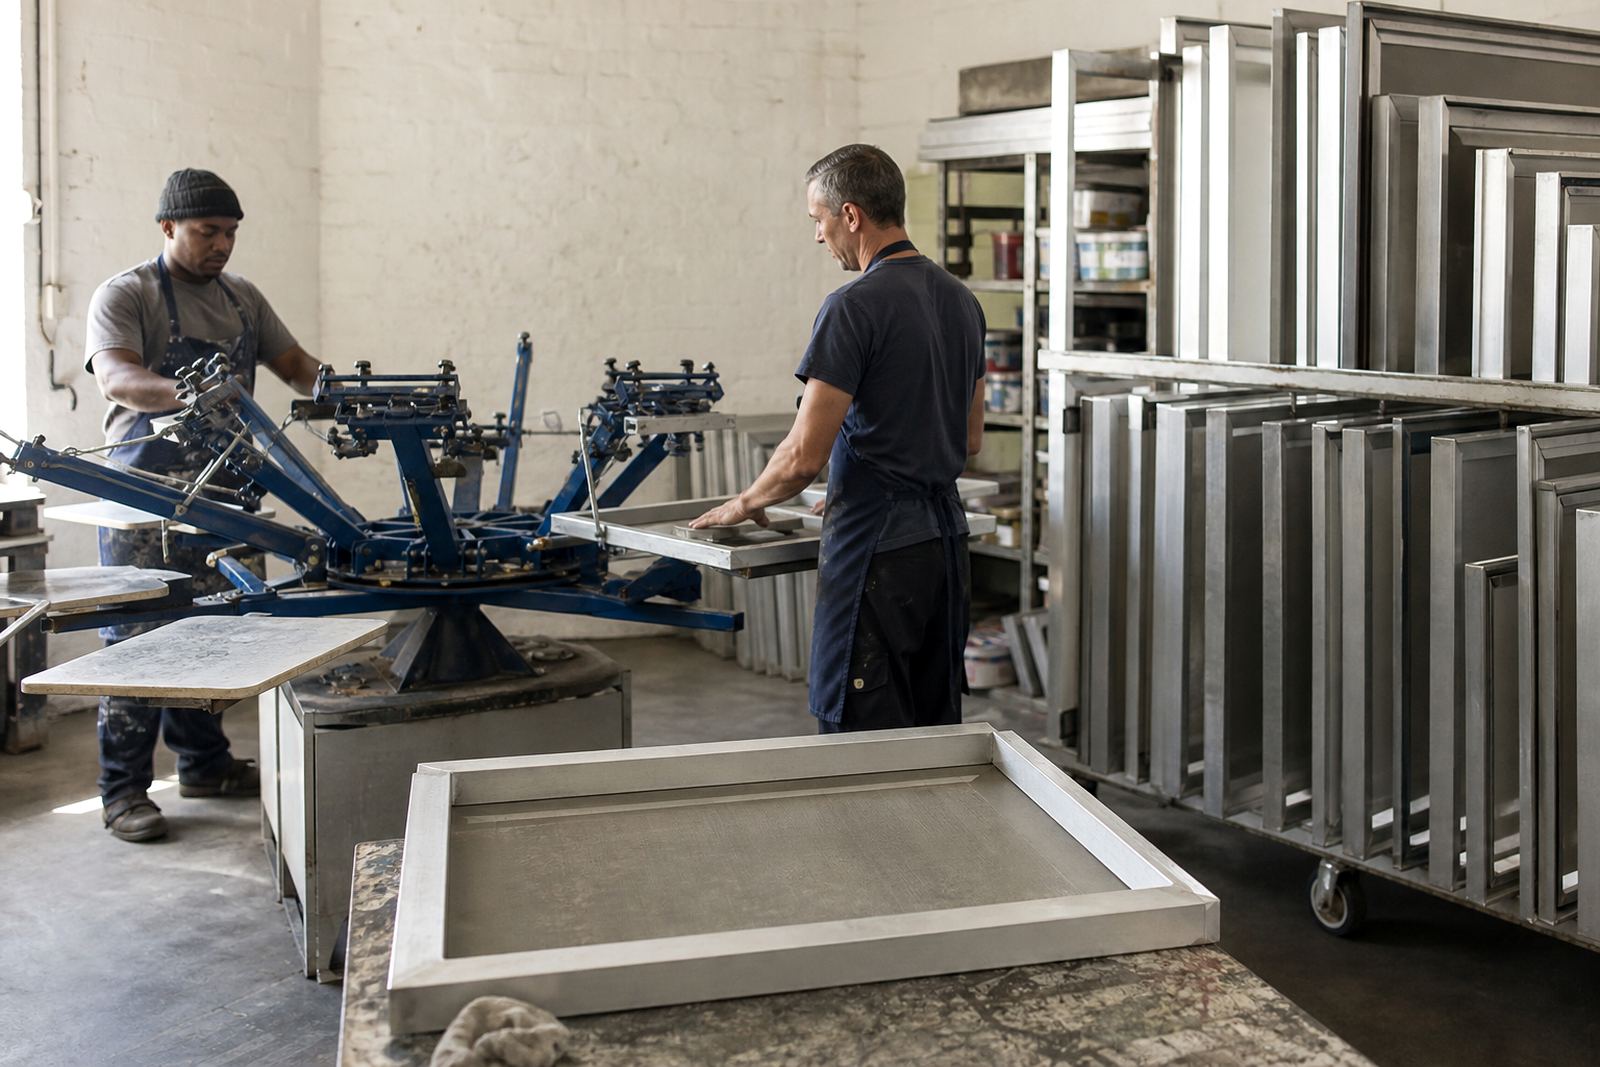
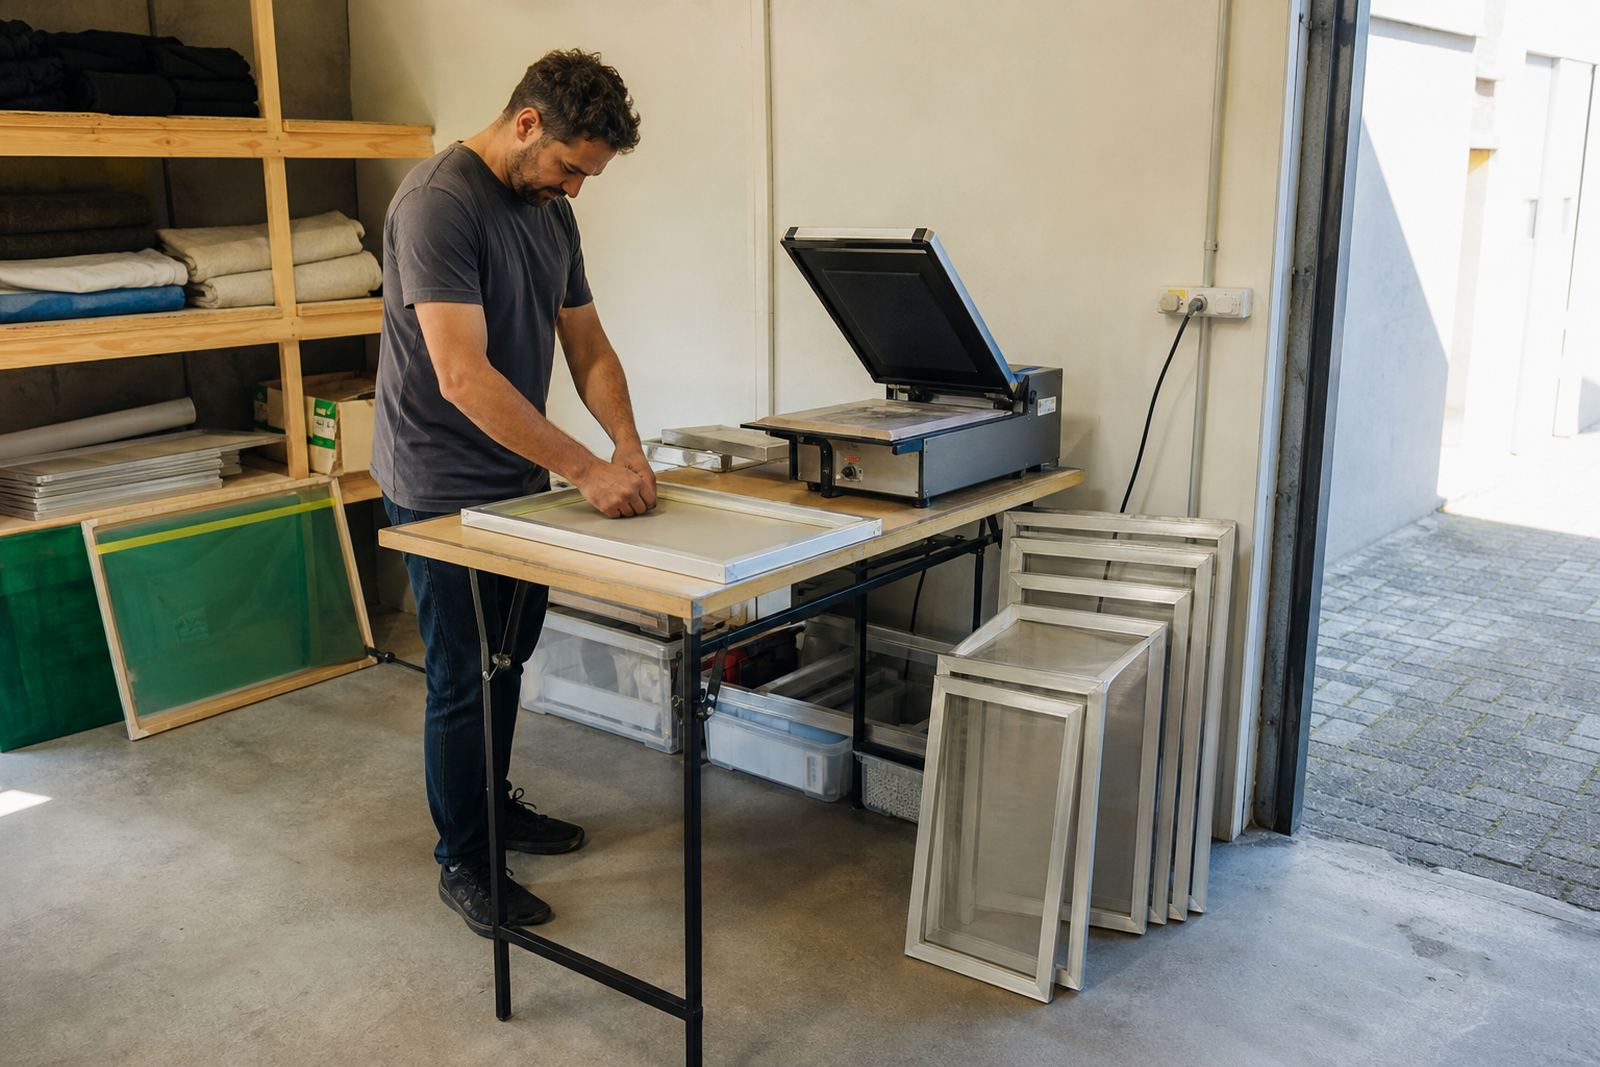
Home printers usually start with a small press, a drying rack, a wash area and a table for artwork prep. In a spare room, garage or backyard room in Cape Town, Johannesburg or Durban, the frame choice has to suit the size of the space as well as the print run. If your setup is shared with family storage or a workshop corner, lighter aluminium frames are easier to move and cleaner to stack.
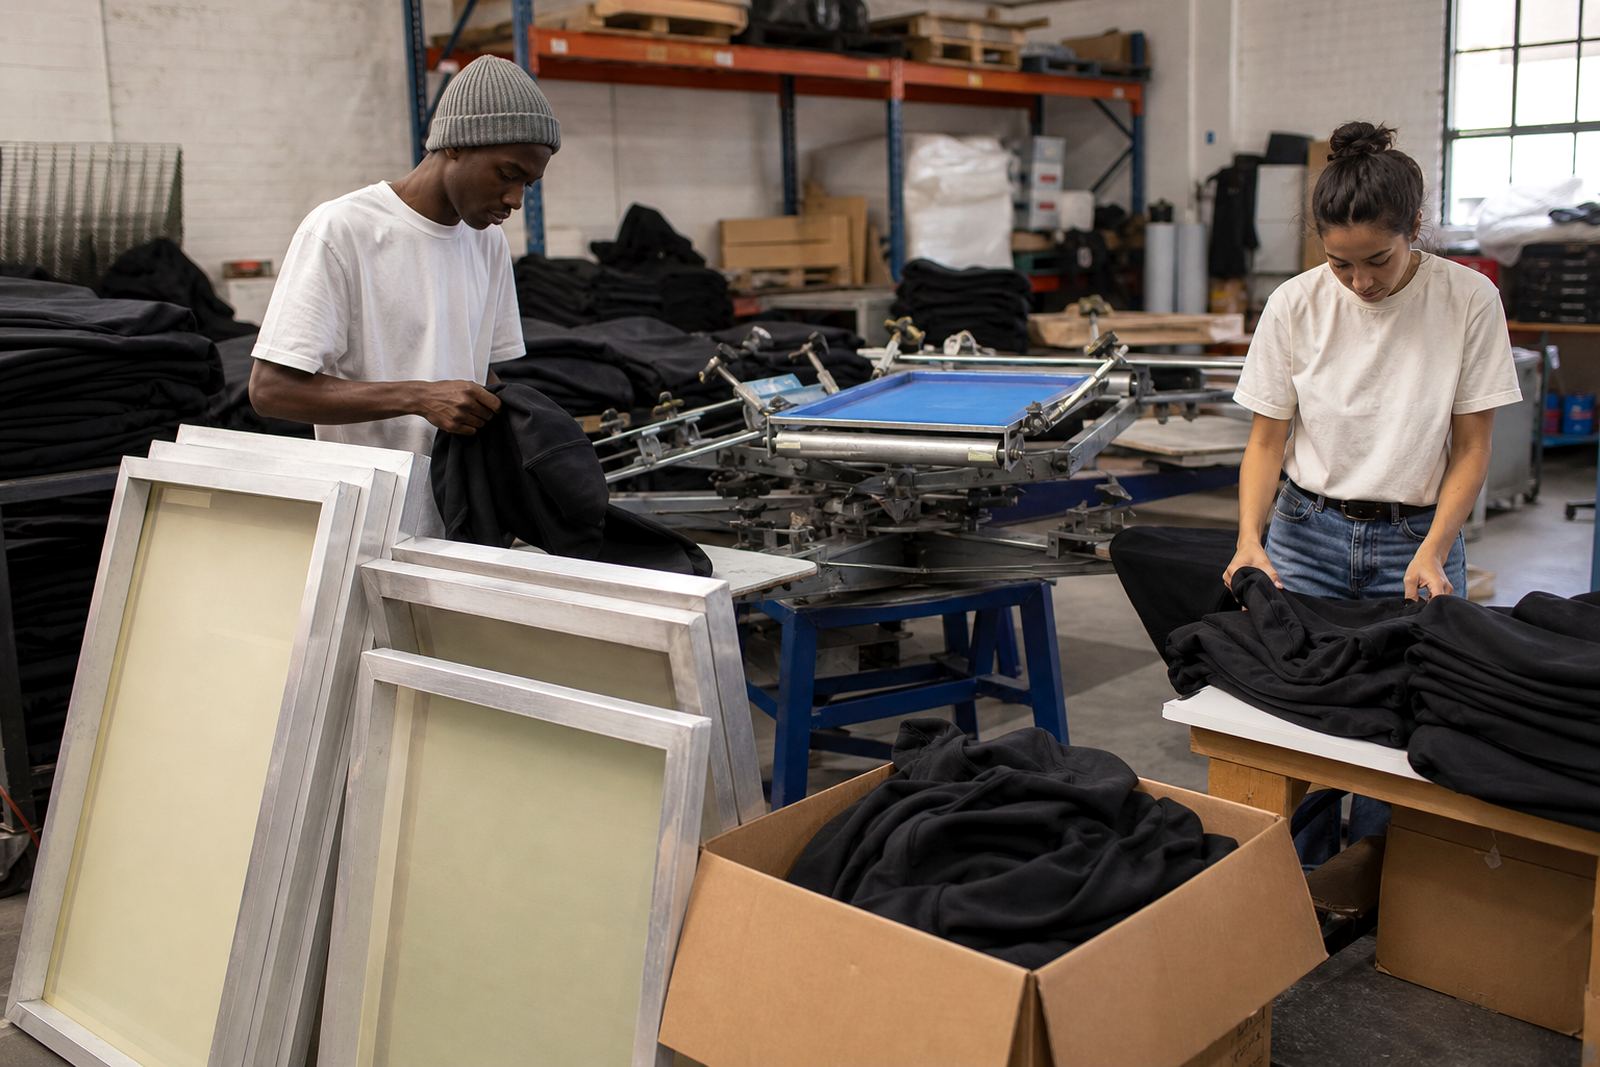
For garment decoration at home, the common order is simple: one or two manual print heads, a few mesh counts for different inks, and frames that can take repeated use without twisting. Aluminium helps with that because it stays straight and handles cleaning better in humid areas near the coast. It also keeps the screen lighter when you are registering by hand.
What most home printers need on hand
A starter home setup does not need a full factory list, but it does need the right basics. A screen that is badly stretched or too small for the artwork causes trouble on the press and wastes ink, time and fabric. If you are printing T-shirts for school events, church groups, small brands or weekend markets, the usual set is fairly modest.
- 1 to 3 aluminium frames for different mesh counts
- One clean workspace for coating, drying and exposing screens
- A drying rack or rail that keeps screens off the floor
- Storage for squeegees, inks, emulsions and cleaning supplies
- Space for airflow so screens dry properly in summer humidity
We often work with home printers who need smaller frame sizes for one-person handling, plus a few larger frames for bulk jobs. That gives you flexibility without filling the whole room with gear.
Planning your layout before you place an order
Before you choose frame sizes, measure the actual working area, not just the room on paper. Leave space to walk around the press, lift screens out after washout and move finished garments away from dust. In many home studios the biggest mistake is packing the press too close to a wall, which makes screen changes awkward and slows production.
It helps to map the workflow in one direction: artwork prep, coating, drying, exposure, printing, then curing. If you are working in Maitland, Bellville or Paarl and dealing with load-shedding, think about where you can keep screens safe during an outage. A small shelf or covered rack keeps dust, overspray and accidental bumps from ruining a day’s work. Planning now saves a lot of rework later, and its worth the effort.
- Measure doorways before ordering larger frames
- Check ceiling height if you use vertical drying racks
- Keep ink and cleaning chemicals away from food or living areas
- Allow extra space for washing screens without splashing the floor
Common mistakes that cost home printers money
The most common problem is using a frame that is too light for repeated use or too small for the print size. That leads to poor contact, patchy prints and a lot of re-tensioning. Another issue is storing screens in a damp corner after cleaning, especially in coastal areas where moisture stays in the air longer.
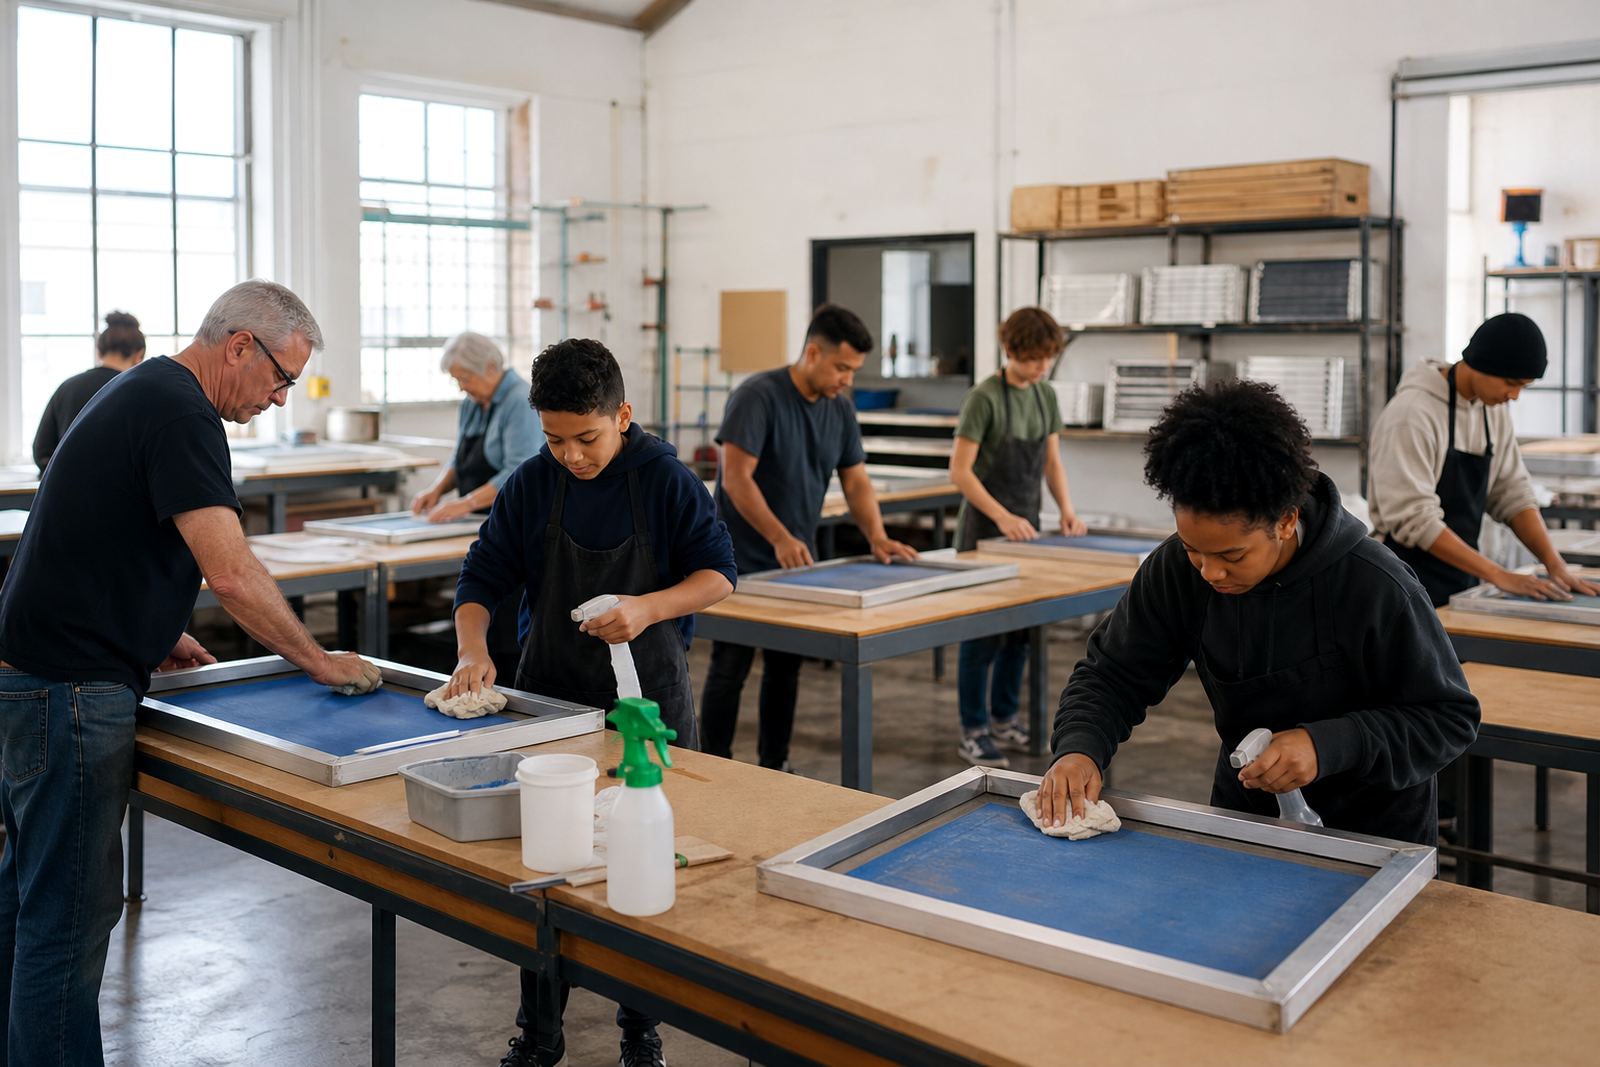
Home printers also under estimate the value of proper tension checks. A screen that feels fine on day one can loosen after a few jobs, especially if it has been washed hard or left in the sun. We also see frames with glue residue, damaged mesh edges or uneven cleaning that shortens the life of the screen. Those little faults become bigger costs when you are printing for paying clients.
If you are doing side-hustle work after hours, try not to rush the prep stage. A few extra minutes on inspection is cheaper than replacing a batch of shirts because the ink dragged or the image shifted.
Budget ranges for getting started
Budgets vary depending on how many screens you need, the mesh count and whether you want new stretching or restretch existing frames. For home use, many printers begin with a small set and add more as orders grow. That keeps cash flow under control while still giving you the tools to take on paid work.
As a general guide, a modest home setup for one or two basic frames may start from around R850 to R1 800 depending on size and finish. A small working set with several frames for different garments and ink types can sit in the R2 500 to R6 000 range. Larger bulk orders, custom sizes or urgent turnarounds will cost more, but they usually work out better than replacing poor-quality gear later.
If you are printing regularly from home, it can make sense to budget for frame cleaning, mesh removal and re-stretching before a full replacement is needed. That keeps costs down and helps your screens last longer.
How ScreenFrame supports home printers
We work with hobbyists, part-time printers and small home studios across South Africa, from Cape Town and Johannesburg to Durban, Pretoria and Gqeberha. Our Maitland workshop handles new screen stretching, restretching existing frames, adhesive application, frame inspections and pickup and return where needed. For Bellville collections and Paarl supply routes, we help keep smaller orders moving without unnecessary delays.
If you are still building your setup, tell us what you print, how much space you have and how often you run jobs. That helps us match the frame size and mesh to your workflow instead of guessing. It is a simpler way to buy, and it avoids paying for equipment you wont use.
For home printers, the main goal is to keep the setup practical: frames that fit the room, tension that holds, and turnaround times that work around real life. That is where good planning and the right screen choice make the biggest difference.