
Start With the Prints You Actually Want to Make
Before you buy a stack of gear, decide what you want to print first. A beginner making 20 to 50 T shirts a week for school events or small brand orders needs a different setup from someone testing one design at home on weekends. The safest approach is to match your first kit to the garments, ink type and print size you will use most often.
Many new printers in South Africa start with one or two simple jobs, then find they have bought the wrong frame size for the artwork. That slows everything down. A sensible starter kit should make it easy to stretch, print and clean up without needing a workshop full of extras. Keep it practical from the start.
The Frame Is the First Thing to Get Right
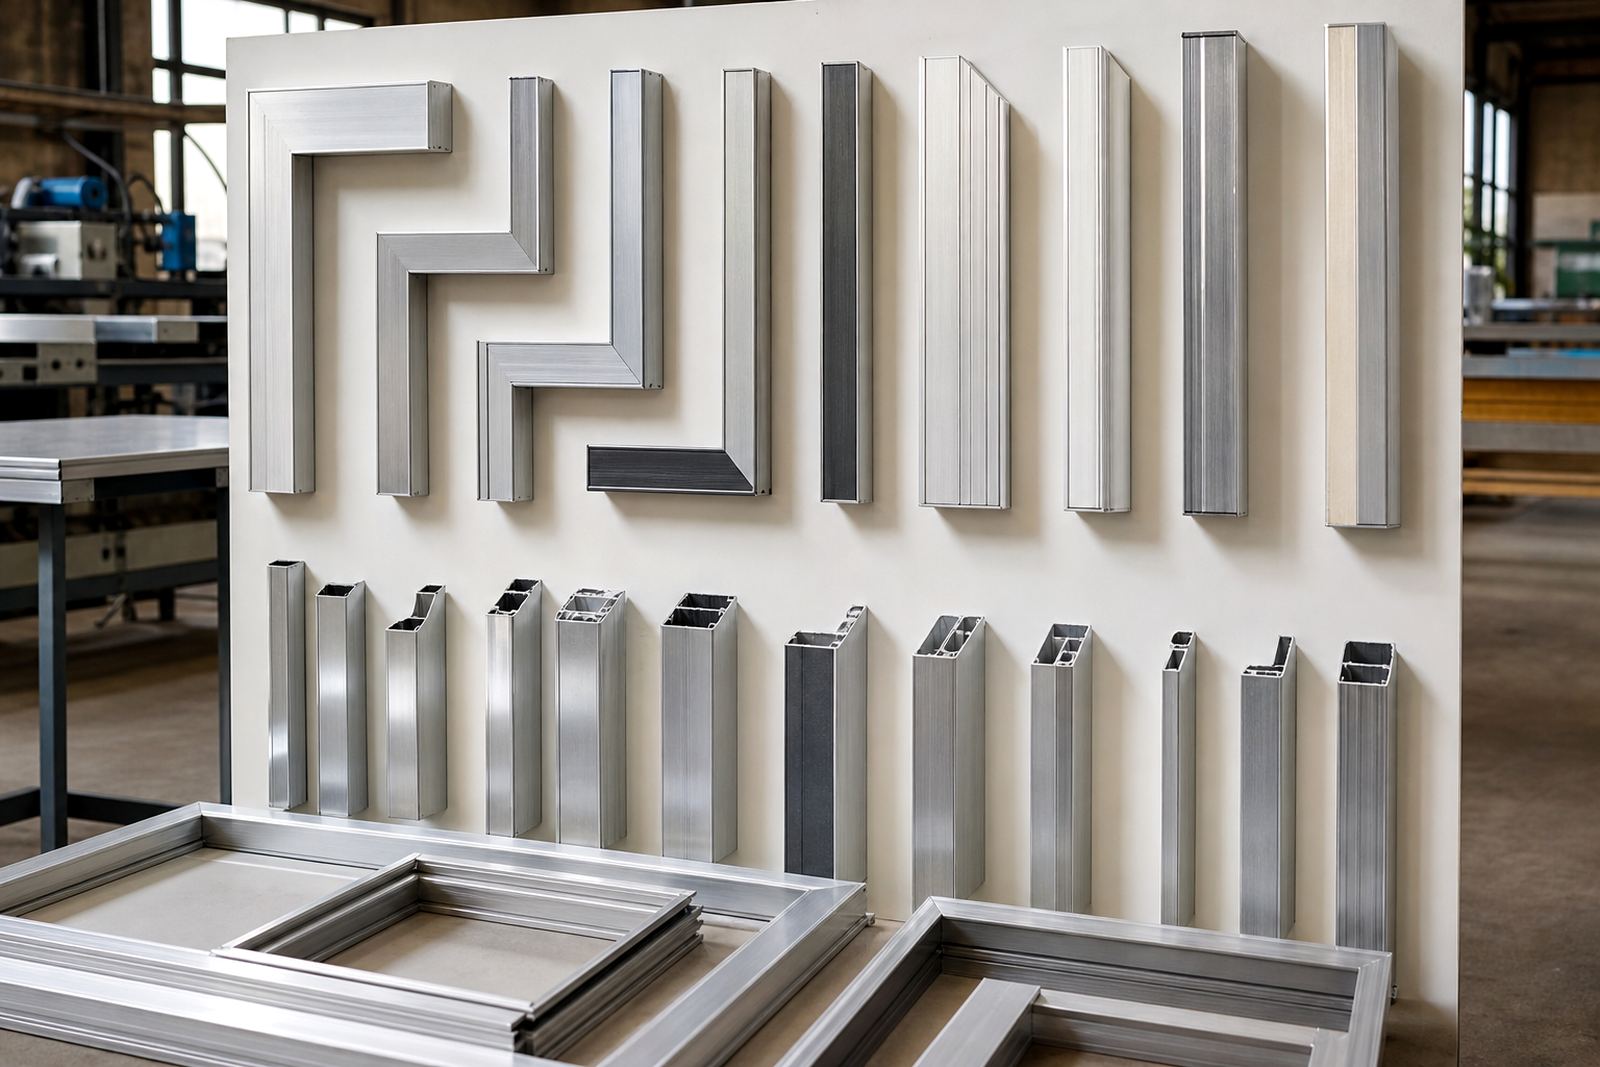
Your frame is the part that carries the mesh, so this is not the place to cut corners. Aluminium is a strong choice for beginners because it is light, it handles repeated use well, and it does not warp as easily as some cheaper options. If you are working in Cape Town, Durban or Gqeberha where humidity can be high, a stable frame matters even more.
For most first-time printers, one or two standard frames is enough to learn proper mesh tension and basic registration. You do not need ten sizes on day one. What you do need is a frame that is square, clean and sized for the artwork you plan to print. A crooked frame gives you trouble later, even if the job looks fine at first. That kind of mistake wastes emulsion, ink and time.
- Choose one practical print size for your first jobs
- Check that the frame sits flat and does not twist
- Ask for custom stretching if your artwork size is unusual
- Keep a spare frame only after your first setup is working well
Mesh Tension Affects Everything You Print
Beginners often focus on ink and artwork first, but mesh tension has a bigger effect on print quality than people expect. If the mesh is too loose, you get fuzzy edges, poor detail and messy prints. If it is too tight or uneven, you can struggle with the squeegee and the screen may not last as long. Good tension gives you cleaner prints and less frustration.
In practical terms, that means your starter kit should include properly stretched screens, not just loose frames sitting in the workshop. If you are learning at home in Paarl and only printing on Saturdays, it is easy to delay this step. But stretched screens save time from the very first job, and they make it easier to learn proper pressure and stroke control.
- Ask for mesh suited to garment printing, not just any available mesh
- Use tension checks before starting a new batch
- Replace damaged mesh instead of forcing a poor print
- Keep screens clean and dry between runs
What Belongs in a Beginner Starter Kit
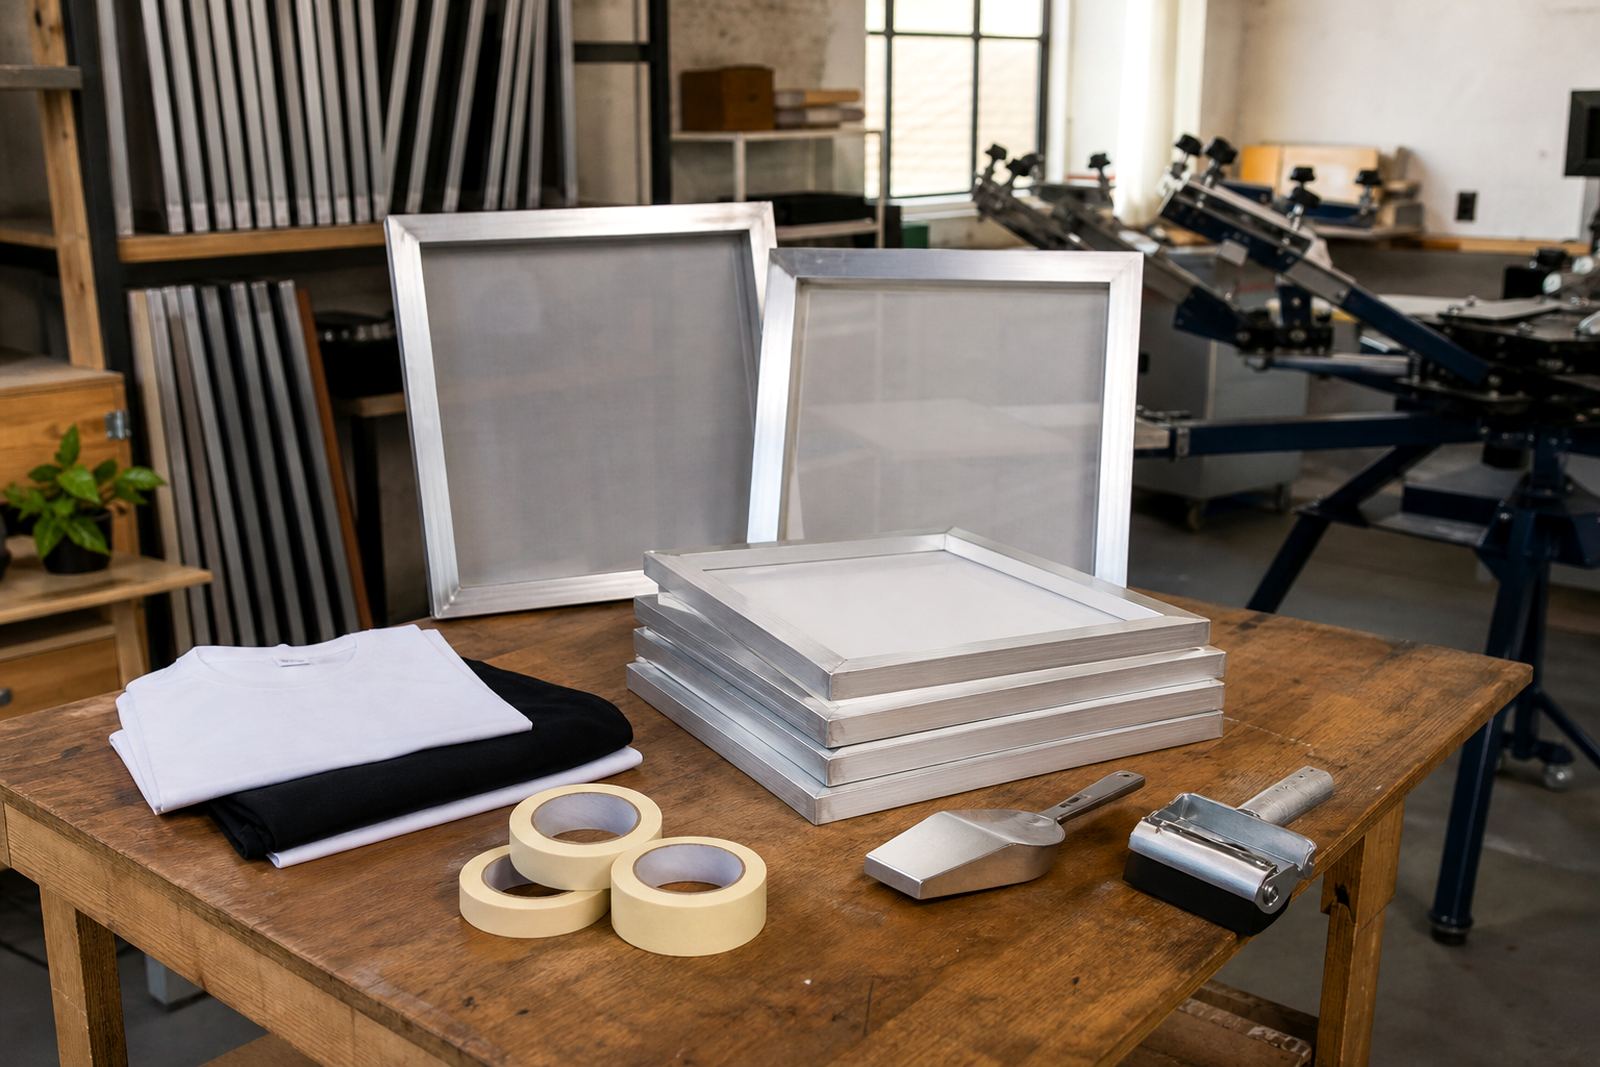
A starter kit should give you the basics needed to print, clean and store your screens properly. The aim is to avoid wasted money on extras that sit unused while you are still learning. Start simple, then build as your order volume grows. A good kit also needs to suit South African conditions, including dust, heat, and load-shedding interruptions that can affect drying times and workshop routine.
Here is a practical starter list:
- One or two aluminium frames in the size you will use most often
- Properly stretched mesh ready for garment printing
- A clean screen ready for artwork application
- Adhesive for secure mesh fixing and repairs
- Basic cleaning supplies for ink and residue removal
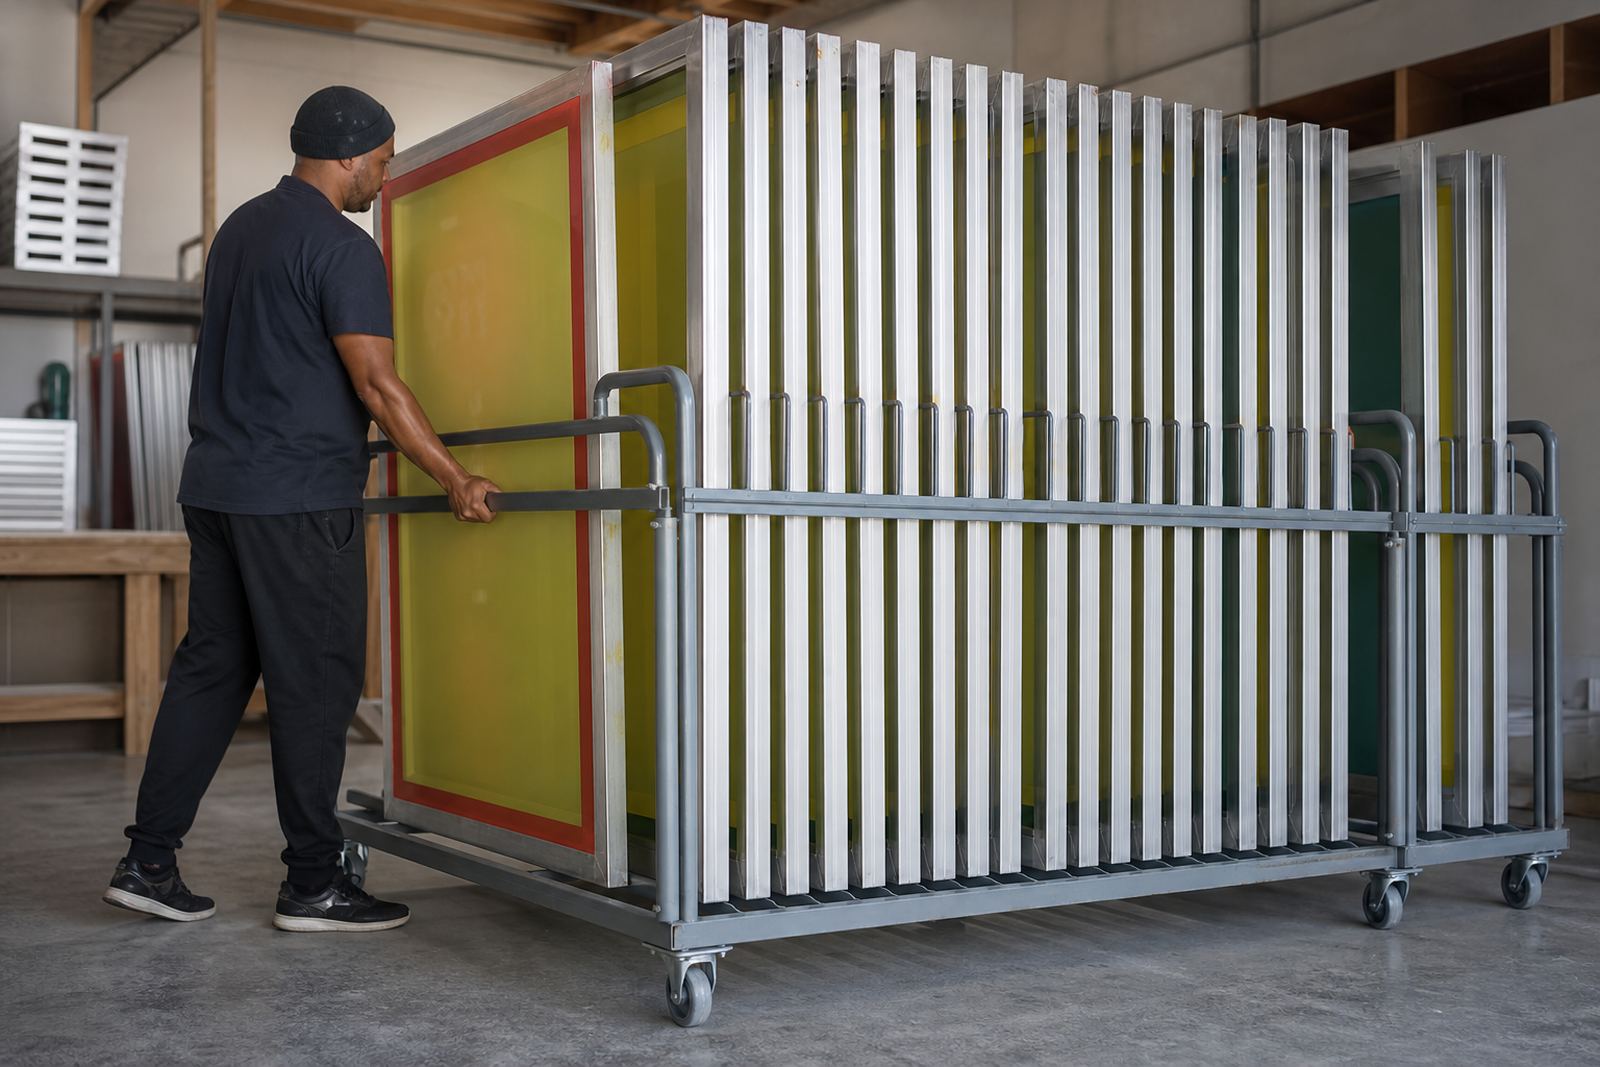
- A simple way to store screens flat and dust free
- A spare screen if you are printing for customers and cannot stop mid job
You do not need every item on day one, but you do need the basics in place before taking paid work. That is the part many beginners miss.
A Cape Town Example: Small Orders, Clean Workflow
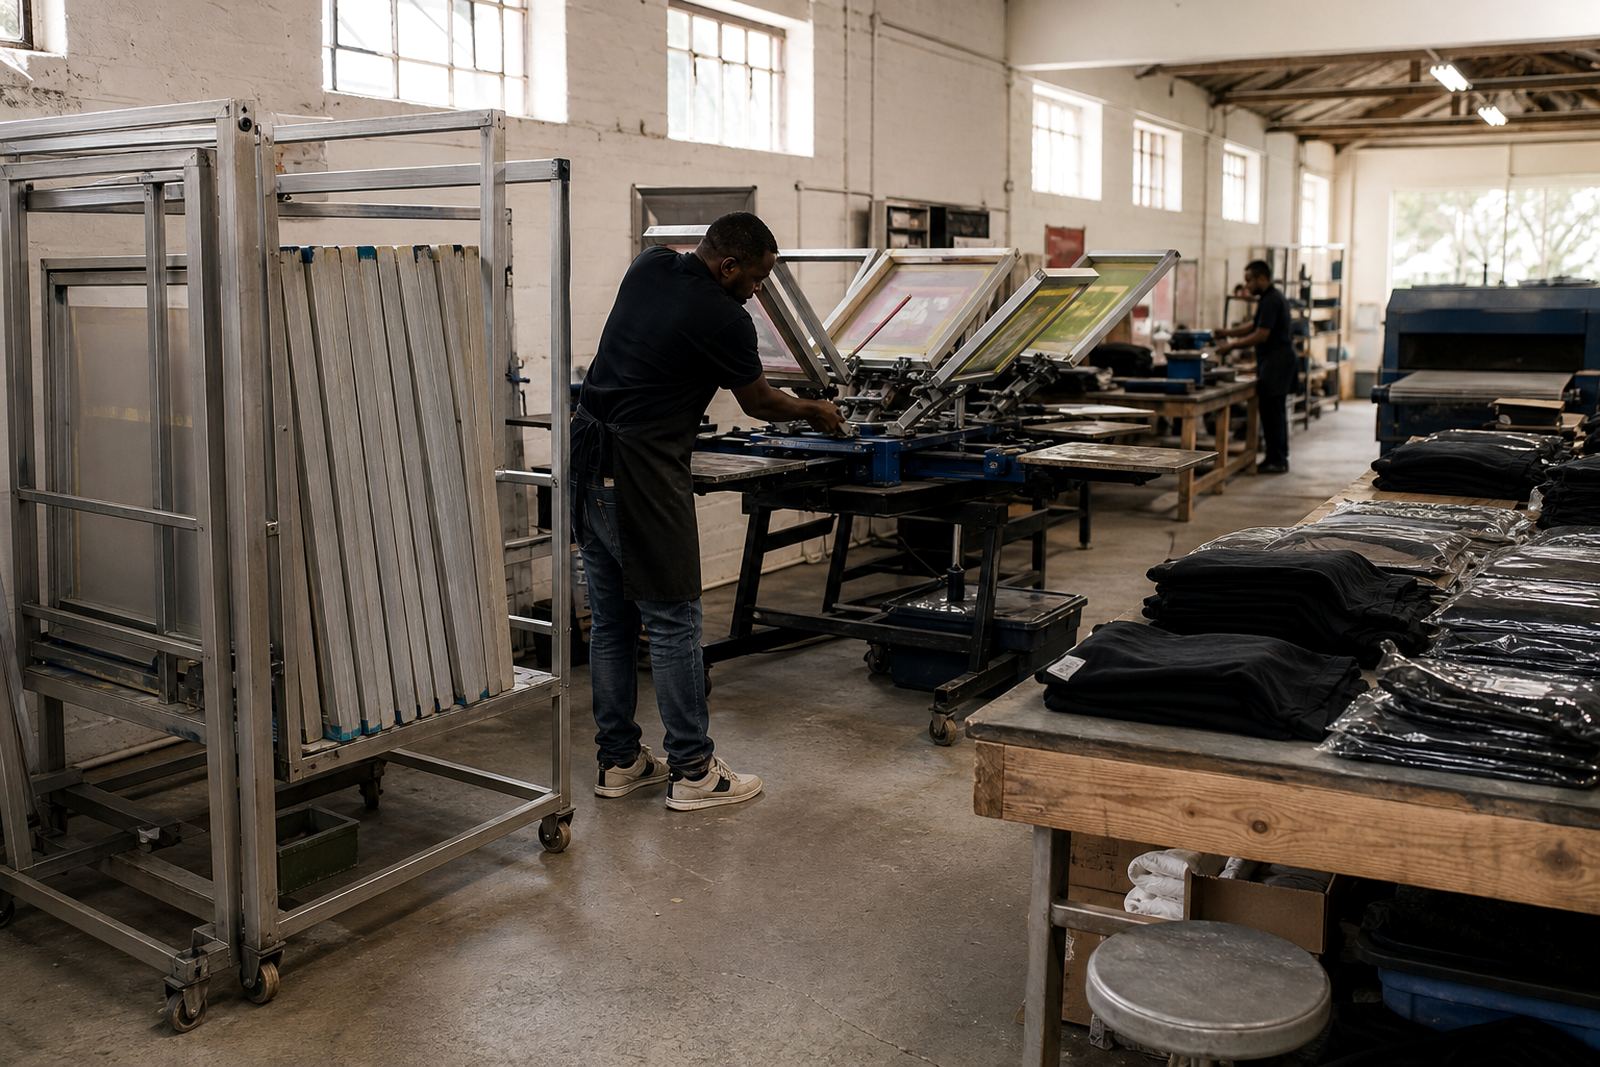
Take a beginner in Maitland, Cape Town who wants to print a few dozen shirts for a local sports club. The temptation is to buy the cheapest frame and sort out the rest later. But once the order arrives, delays start showing up fast. A properly stretched screen, a cleaned frame and the right size mesh mean the printer can move from setup to print day without repeated stop-start problems.
For someone in the Western Cape, this also helps with delivery and turnaround planning. If screens are stretched and checked before the job starts, there is less risk of last-minute problems when a municipal event or club order has a fixed collection date. That kind of planning matters when your customer wants the shirts by Friday and you are juggling drying time, transport and workshop capacity.
Beginners often learn that the screen is not just a tool, it is part of the job schedule. A good first setup keeps the process predictable.
When to Restretch Instead of Buying New
Not every screen problem means you need a brand new frame. If the aluminium is still straight and the corners are sound, restretching can be the better option. This is useful when you are testing different mesh counts or when your first screen has seen enough use to need fresh mesh. For a beginner, that keeps costs under control while still improving print quality.
Here is a simple rule: if the frame is clean, square and strong, restretch it. If it is bent, badly damaged or has repeated failure points, replace it. That saves you from building a kit around weak equipment. It also helps you learn the difference between normal wear and a frame that is no longer fit for proper work.
- Restretch if the frame structure is still good
- Replace if the frame has warping, cracks or bad joins
- Inspect after each cleaning cycle
- Keep notes on which mesh works best for each garment type
A Starter Kit Should Let You Grow, Not Limit You
The best first purchase is one that teaches you good habits. If your starter kit makes cleaning easy, keeps prints sharper and handles repeat use, you are already ahead. From there, you can add more sizes, more mesh options and more screens as your orders grow in Johannesburg, Pretoria, Durban or Gqeberha. Growth should come from demand, not guesswork.
If you are still deciding what to buy first, keep the focus on frame quality, proper stretching and a workable size for the garments you will print most often. A beginner does not need a complicated setup, just a reliable one. Get that right and your learning curve gets a lot easier, even when the workshop is busy and the power cuts out again.