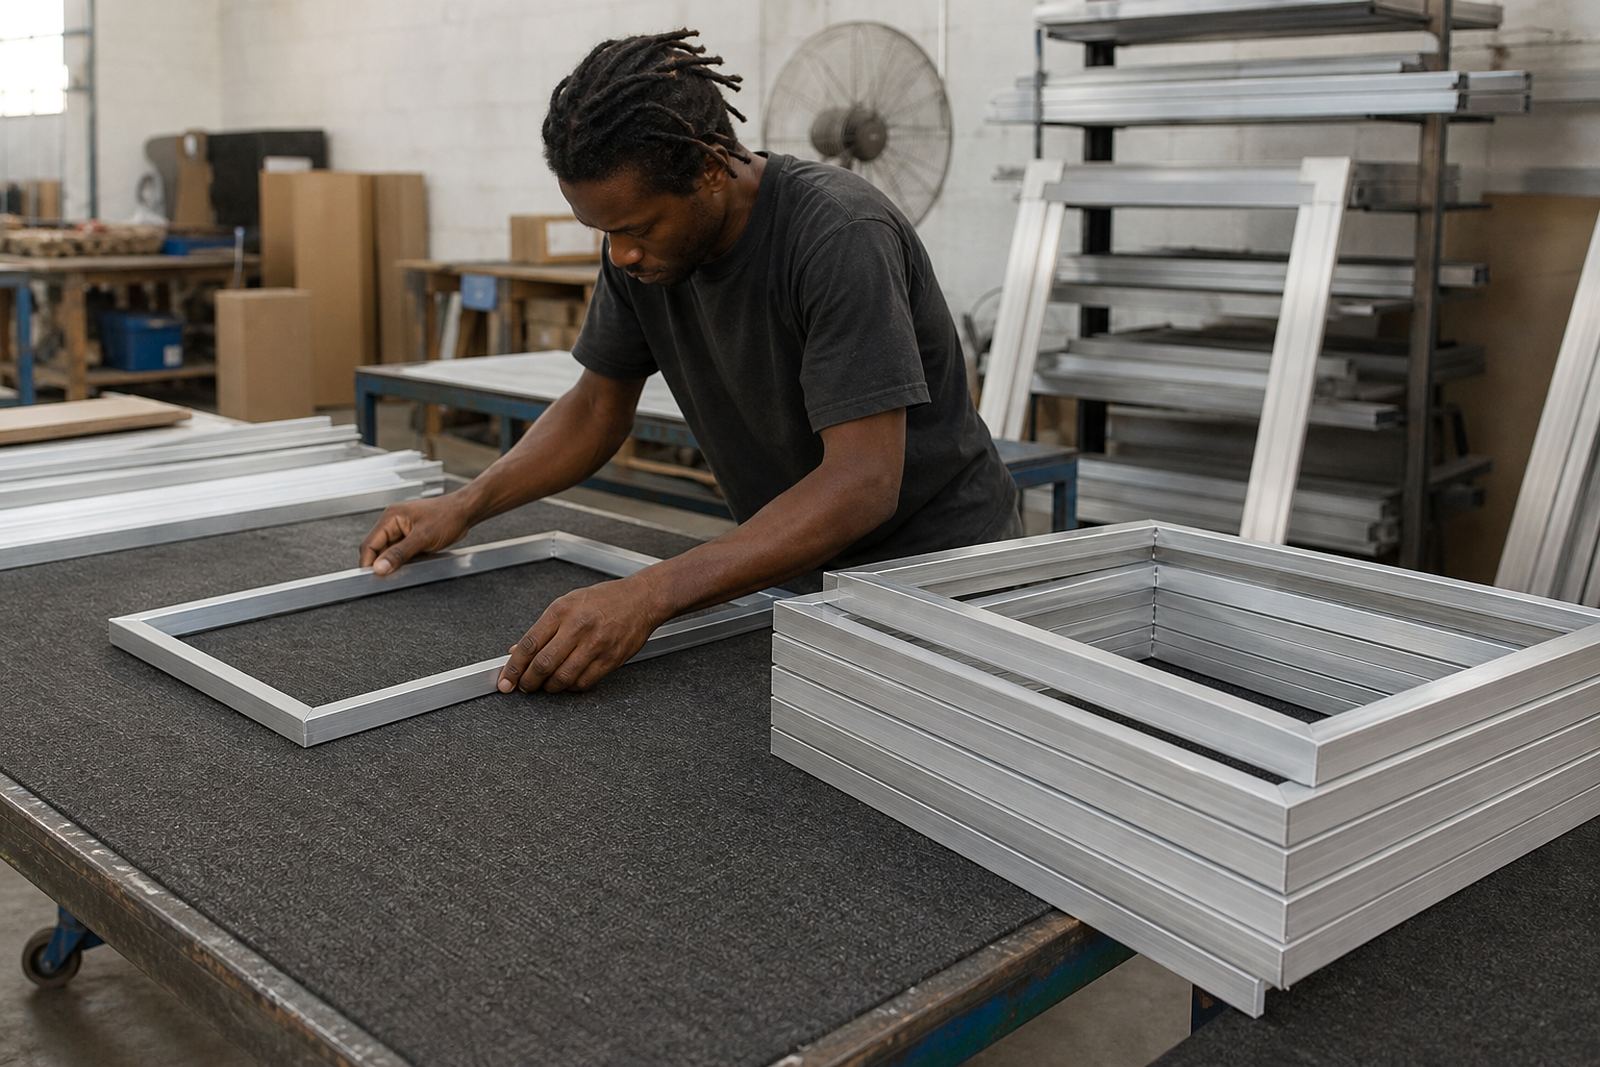
Why sleeve work needs a narrower frame
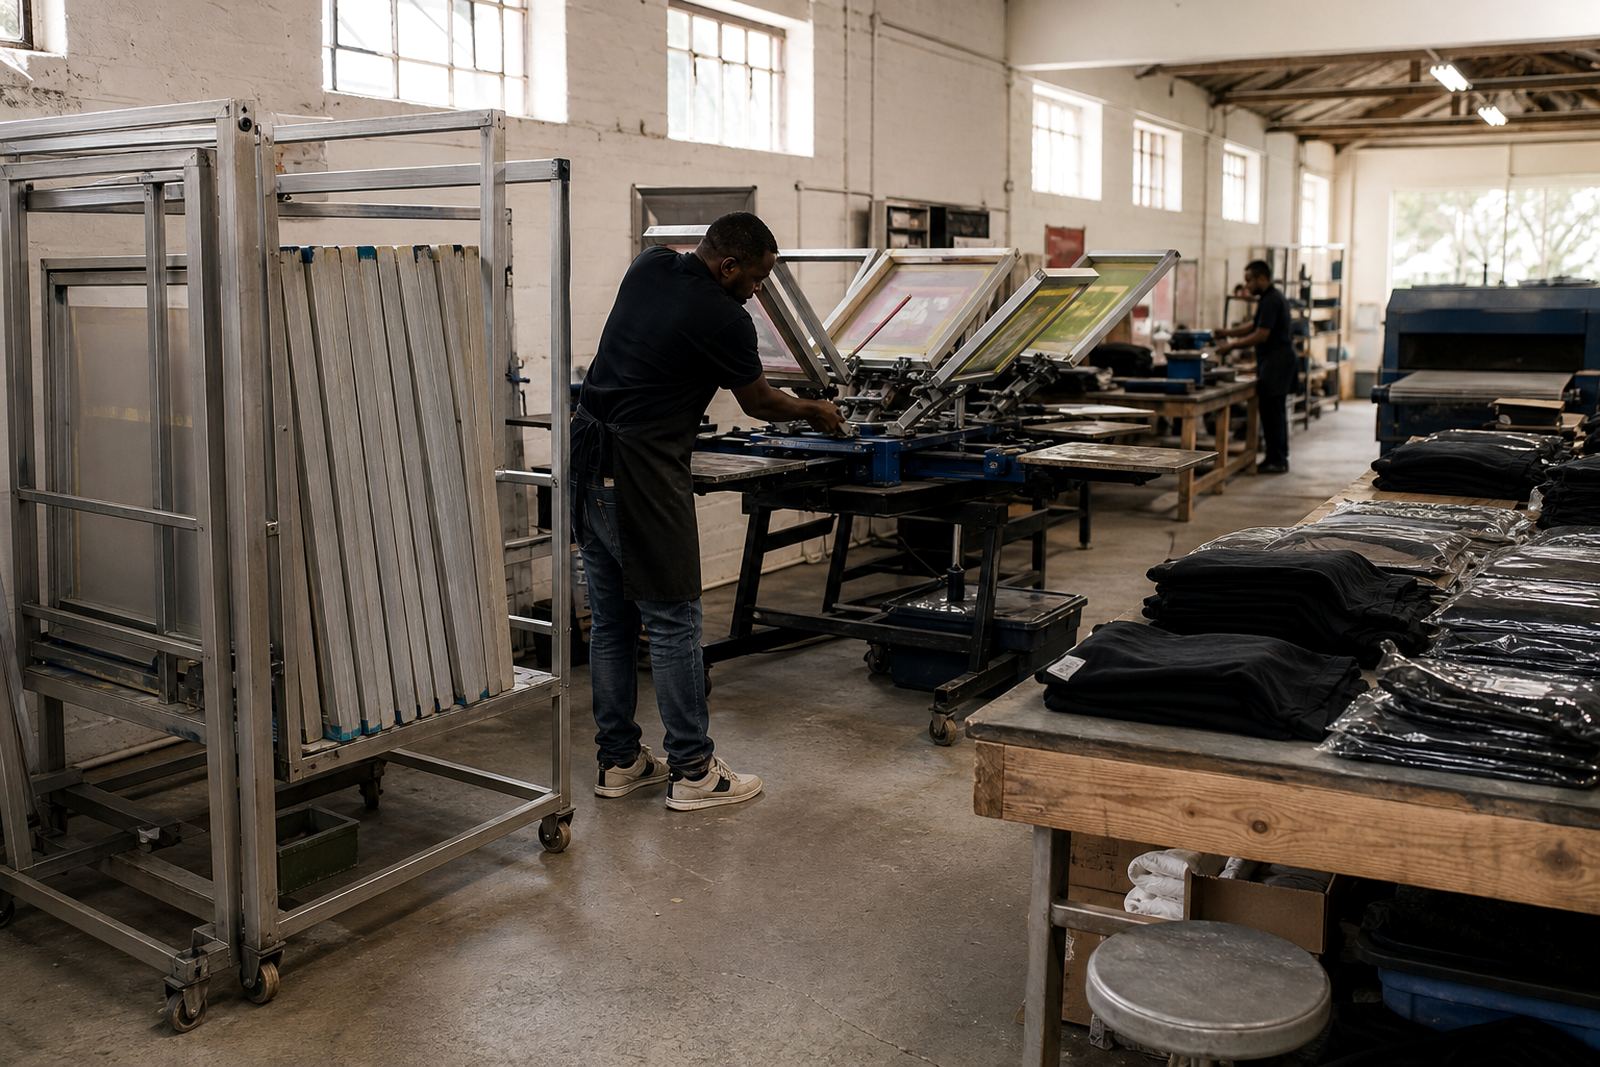
Sleeve branding is one of those jobs where a small difference in frame size makes a big difference on press. A standard frame can be too wide to sit comfortably on a narrow sleeve, especially on fitted T shirts, work shirts and jackets with tight arm areas. A narrower frame gives you more control over placement and lets the garment lie flatter under the print area.
For printers working in Cape Town, Johannesburg or Durban, this matters even more when you are doing mixed orders. One order may include cotton tees for promos, another may be polyester workwear for a warehouse team, and another may be ladies fit garments with slim sleeves. The right screen size helps you keep repeatability across all of them.
What sleeve screen size actually means
When people ask about screen size for sleeves, they usually mean the outer frame dimensions and how much clear print area you have inside that frame. A sleeve job normally needs a frame that can clear the arm section without the wood or aluminium edge clashing with the garment. The aim is not only a smaller screen, but a screen that suits the print position and the press set up.
In practical terms, you want enough frame clearance for the platen or support arm, plus enough mesh area to hold the artwork comfortably. If the frame is too large, the printer struggles with positioning. If it is too small, you may not have enough room for registration marks or multiple sleeve sizes in one run.
- Measure the sleeve print area, not only the artwork size.
- Check the press arm or platen width before choosing the frame.
- Leave room for registration and a clean margin around the image.
- Match the frame to the garment type, not just the design.
Good sleeve sizes for common garment work
Most sleeve branding jobs fall into a fairly tight size range. Small logos, sponsor marks and name placements usually need a compact frame that is easy to handle on press. For larger sleeve graphics, you still want a narrower frame than you would use for a chest print, but with enough mesh tension to keep the image sharp across the full stencil.
As a guide, many printers use long, narrow frames for sleeves and similar placements on caps, trouser legs and pocket areas. The exact size depends on your press and artwork, but the principle stays the same: keep the frame narrow enough to suit the garment and wide enough to keep production moving. A frame that is easy to handle saves time on every pull, especially during rush jobs when load shedding has already cut into the day.
- Short sleeve logos: compact narrow frames for quick setup.
- Forearm prints: longer narrow frames with stable tension.
- Workwear markings: frames that allow repeat positions and clean spacing.
- Mixed orders: use a standard sleeve frame size across similar garments where possible.
How the right frame helps with fit and print quality
Screen fit affects more than speed. A well sized sleeve frame helps you keep the mesh flat, the print edge clean and the pressure even from one end of the print to the other. That matters when you are printing fine text, small logos or two colour sleeve marks where any movement shows up immediately.
If the frame is awkward to position, the garment can twist slightly and the design lands off centre. That is a common issue on jersey sleeves, staff uniforms and hospitality garments, especially when the operator is working fast. A proper sleeve frame also reduces strain on the workshop team and makes handling safer during long shifts.
In Maitland and other industrial areas, many printers are running high volumes with limited space and tight turnaround times. A frame that fits the job properly helps keep the line moving without constant adjustment. It also gives better results on stretchy fabrics where the sleeve wants to pull as soon as the print head comes down.
Material, tension and coastal conditions
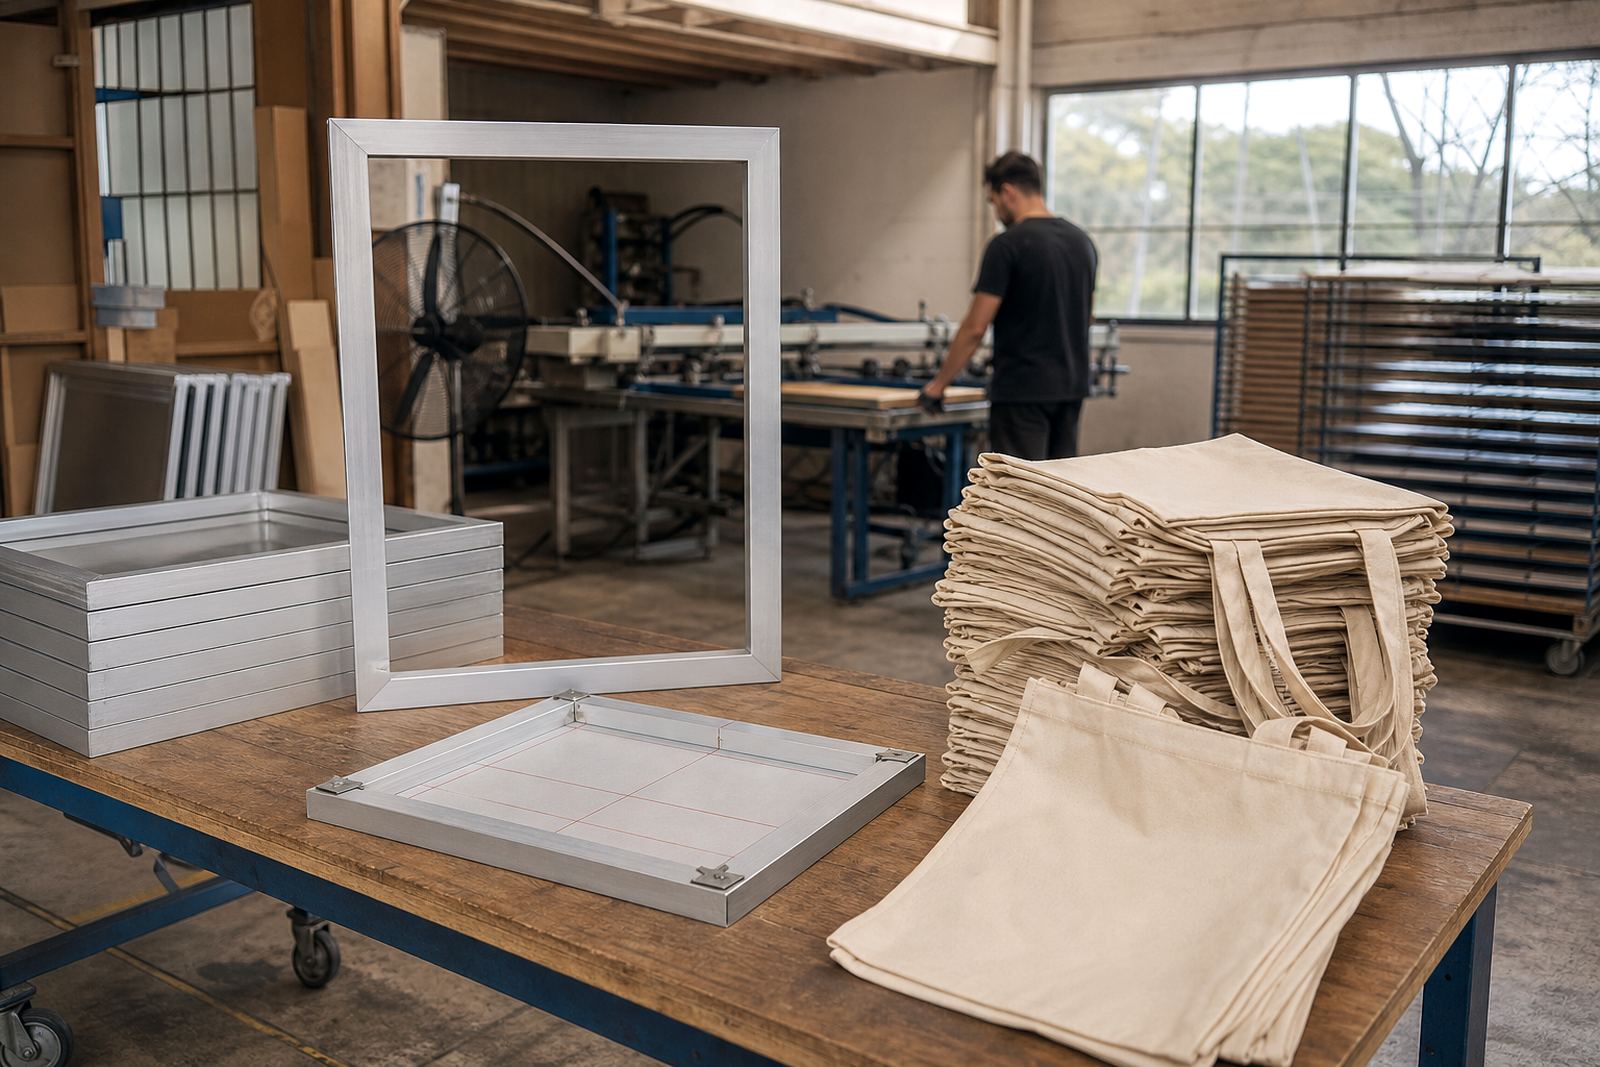
In coastal areas like Cape Town and Gqeberha, humidity can affect how screens behave in storage and in the workshop. Aluminium frames are a practical choice because they stay light, handle regular use well and are easier to keep in shape than heavier alternatives. Good tension is just as important as frame size, because a narrow sleeve screen with poor tension still gives poor print results.
When selecting a screen for sleeves, look at the mesh tension, the adhesive bond and the frame condition together. If the frame has been used hard, or if the mesh has loosened, the print may blur at the edges or flood unevenly. That becomes a problem on fine sleeve logos and on jobs with close registration between colours.
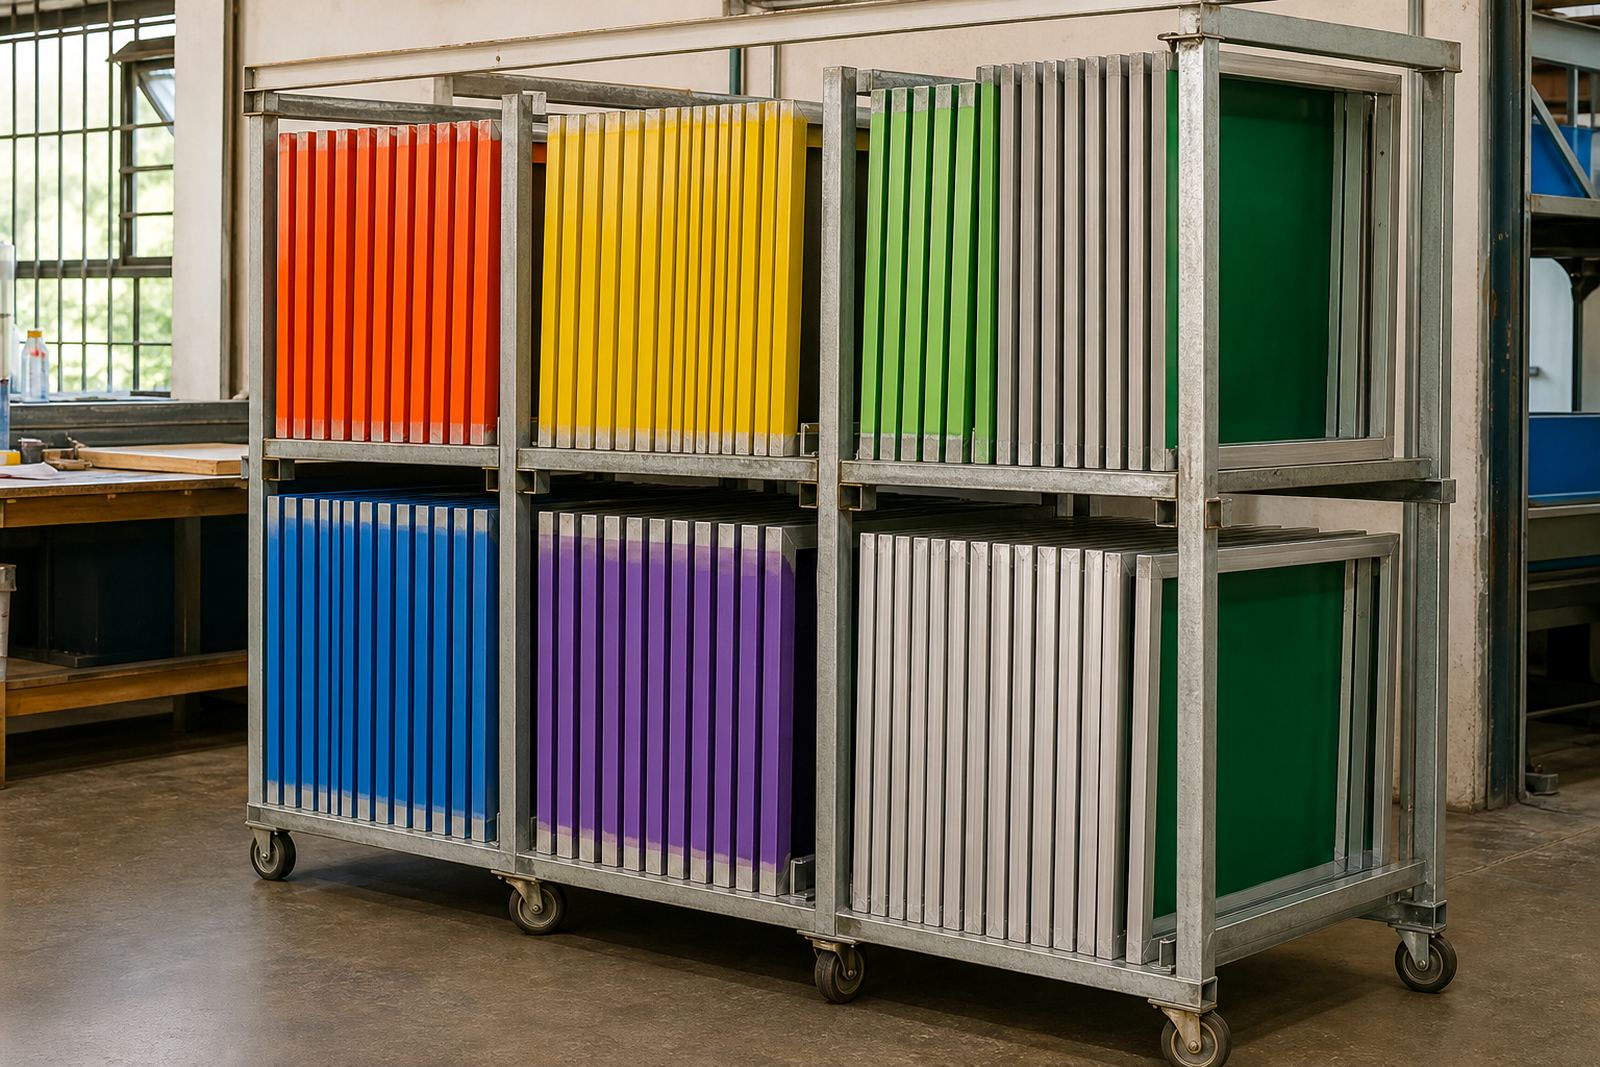
- Store screens off the floor in a dry, ventilated area.
- Keep frames clean after each run to prevent ink build-up.
- Check tension before starting a new job, especially after transport.
- Inspect corners and bond lines for wear before repeat use.
A local example from a mixed workwear order
A Cape Town decorator doing branded shirts for a small logistics team might need sleeve screens for left arm logos on 80 cotton shirts and 40 polycotton jackets. The chest print could use one larger screen, while the sleeves need a narrower frame that clears the arm area and holds the logo in the same position every time. That is where proper screen sizing keeps the job tidy and helps avoid costly reprints.
For printers sending work between Maitland, Bellville and Paarl, or taking deliveries to Johannesburg, Durban, Pretoria and Gqeberha, a consistent sleeve screen setup also makes packing and repeat ordering easier. Once the frame size is right, future runs are simpler to quote and easier to produce.
If you need new screen stretching, restretching of existing frames, or a check on whether your sleeve screens are still suitable, it helps to work with a team that handles garment printing jobs every day. Screen fit is a small detail but it can decide whether a sleeve print looks neat or ends up shifted and patchy.