
Start With the Frame Face and Corners
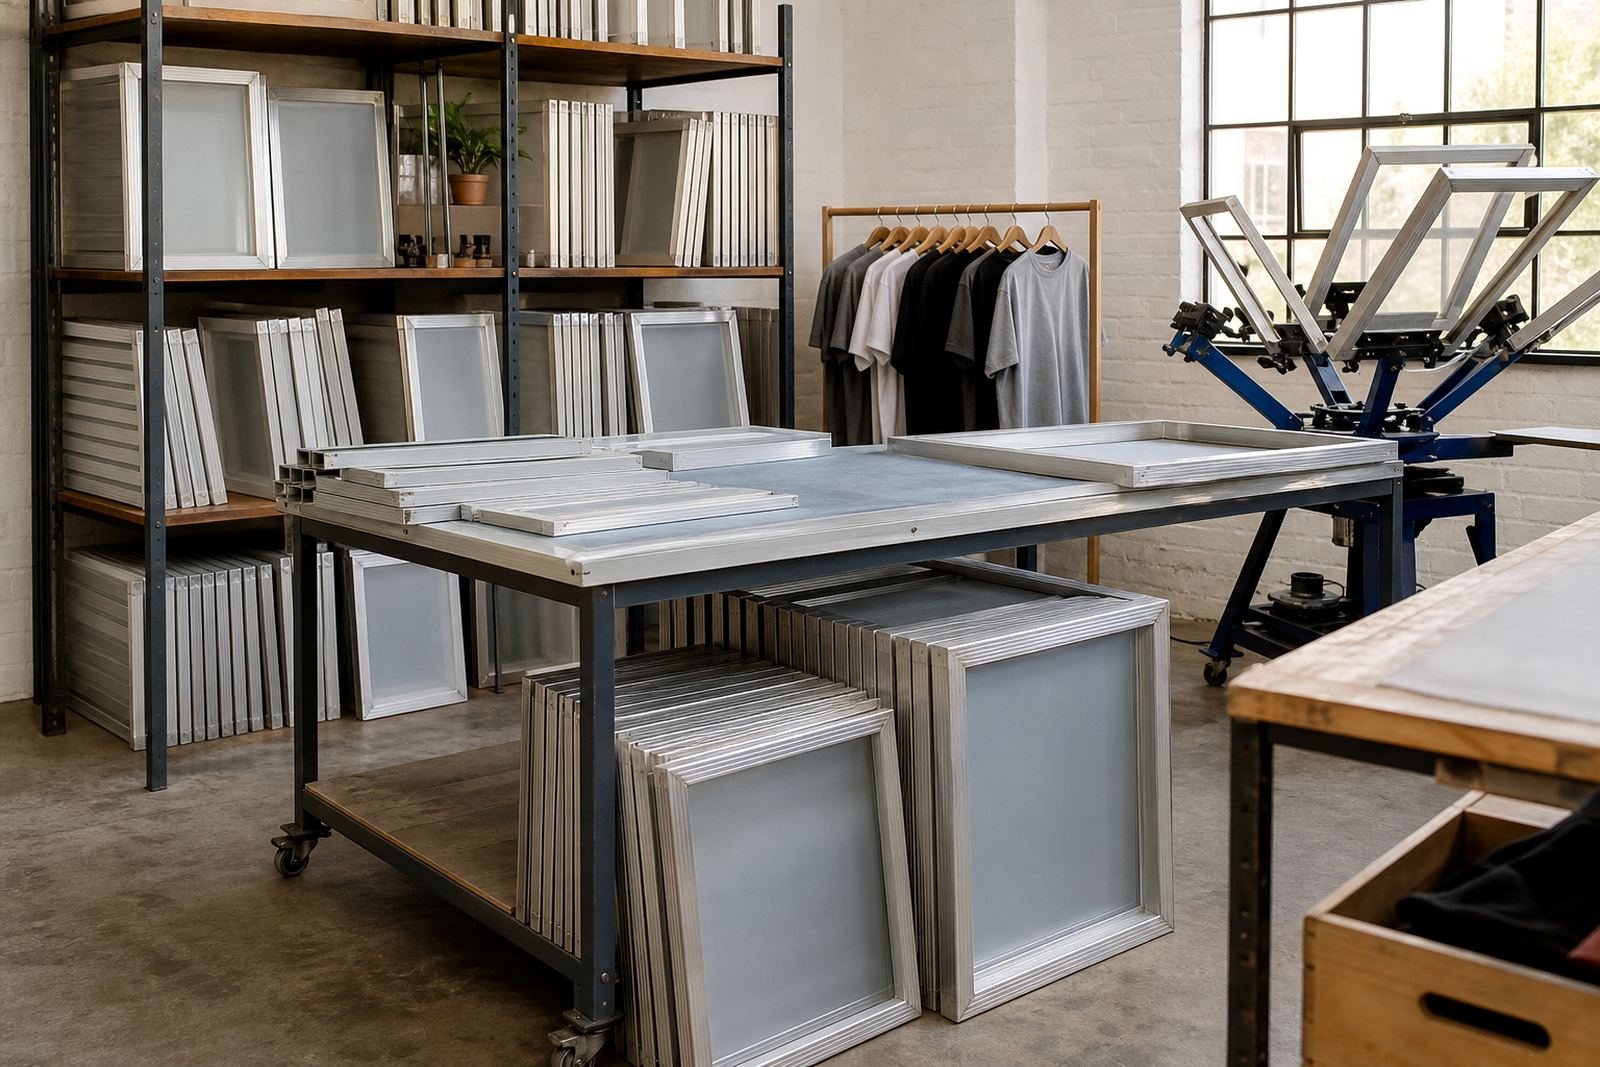
Begin with a clean, flat surface and good light. Look at the frame face, corner joints and welded or joined sections for bends, cracks, lifted edges and signs of impact. If a frame has been knocked during transport or stacked badly in the workshop, the damage often shows first at the corners. In a busy Cape Town shop near Maitland, that can mean one frame that prints fine in the morning and starts losing register by the afternoon.
Run your hand along the edges and check for sharp spots, dents or warping. Even a small bend can affect how the mesh sits and how evenly tension holds across the screen. If the frame is twisted, the mesh will never stretch evenly no matter how careful the operator is.
Check Mesh Tension Before It Reaches the Press
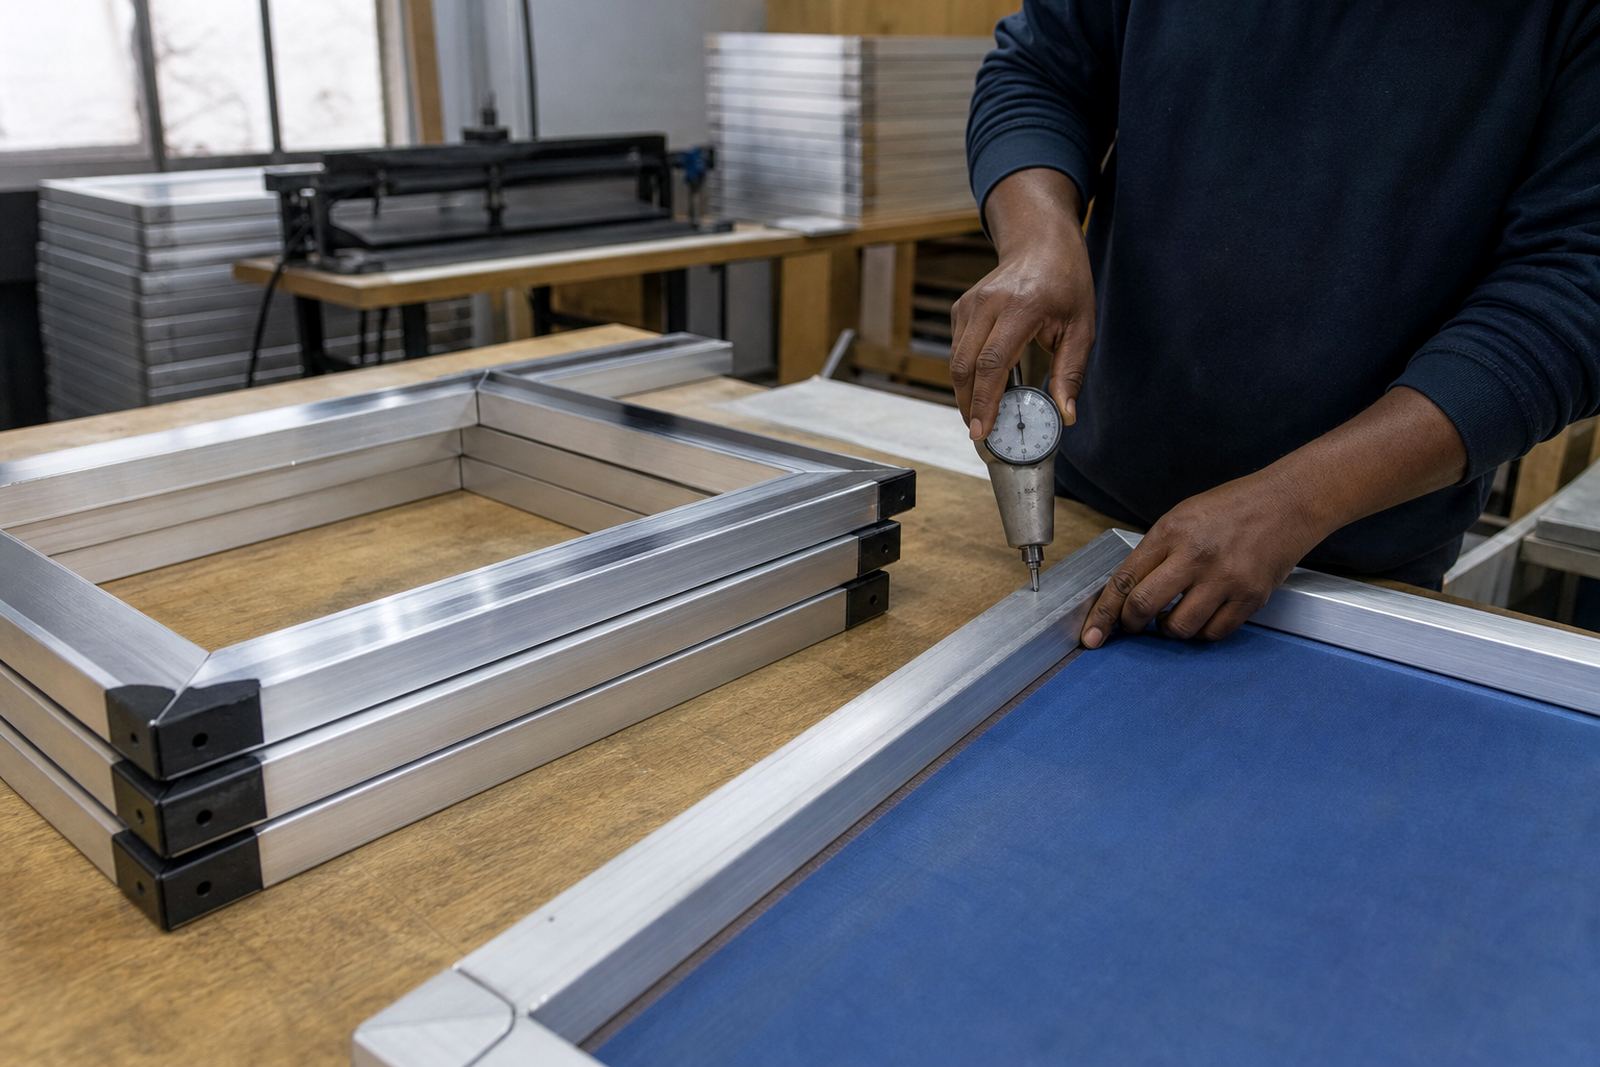
Tension loss is one of the easiest problems to miss. A screen can still look usable while the mesh has already gone soft. Test for sagging by pressing lightly at the centre and comparing the feel with other screens in the same size. If one screen feels noticeably looser, it is time to inspect it properly.
- Look for uneven rebound after pressing the mesh
- Check for wrinkles near the corners or along the glue line
- Compare the screen feel with your standard working screens
- Watch for mesh that sounds dull instead of crisp when tapped
In humid coastal areas like Durban and Gqeberha, tension can drop faster than expected if screens are stored poorly. Aircon helps, but so does proper storage off the floor and away from direct sun.
Inspect the Glue Line and Bonding Area
The bond between mesh and frame is where many problems begin. Check the adhesive line for lifting, gaps, flaking residue or discolouration. If the glue has started to fail, the mesh may shift under squeegee pressure and the print will lose consistency. This is especially important on larger frames where a weak corner can spread stress across the full surface.
Look closely around the full perimeter. Dirt, old adhesive build-up and solvent residue can hide damage. If the bond area feels soft or the mesh lifts when gently pressed, the frame needs attention before it goes back into production. Better to catch it during inspection than when a job is halfway through a run and the screens are suddenly out of spec.
Look for Contamination, Build-Up and Poor Cleaning
A frame that is not cleaned properly will tell on itself. Ink stains, emulsion residue, dried adhesive and tape build-up can all affect how the next mesh is applied. They also make it harder to spot true damage because the surface gets messy and uneven. On smaller runs this may seem minor, but over time it shortens service life and creates extra handling work.
- Check for old ink or emulsion around the edges
- Look for adhesive lumps that stop a flat mesh bond
- Inspect for rust marks, oil or dust on stored frames
- Confirm the frame surface is dry before restretching
For shops doing bulk orders in Johannesburg or Pretoria, consistent cleaning keeps turnaround smoother because the next stretch starts on a proper base, not on leftovers from the last job.
Measure Size, Squareness and Fit
Frames should match the job size and sit square in the production process. Check outer dimensions, inner opening and diagonals to confirm the frame is not out of square. A frame that is off by even a little can create print registration issues, uneven squeegee movement and poor contact with the substrate.
If you handle custom sizes, keep a simple record of the standard measurements you use most often. That makes it easier to spot when a frame has shifted over time. For garment printers working with repeated sizes, a quick measurement can save a lot of rework. It also helps when you are planning urgent turnarounds and need to know what can go straight back into service.
Use a Simple Workshop Checklist Before Reuse
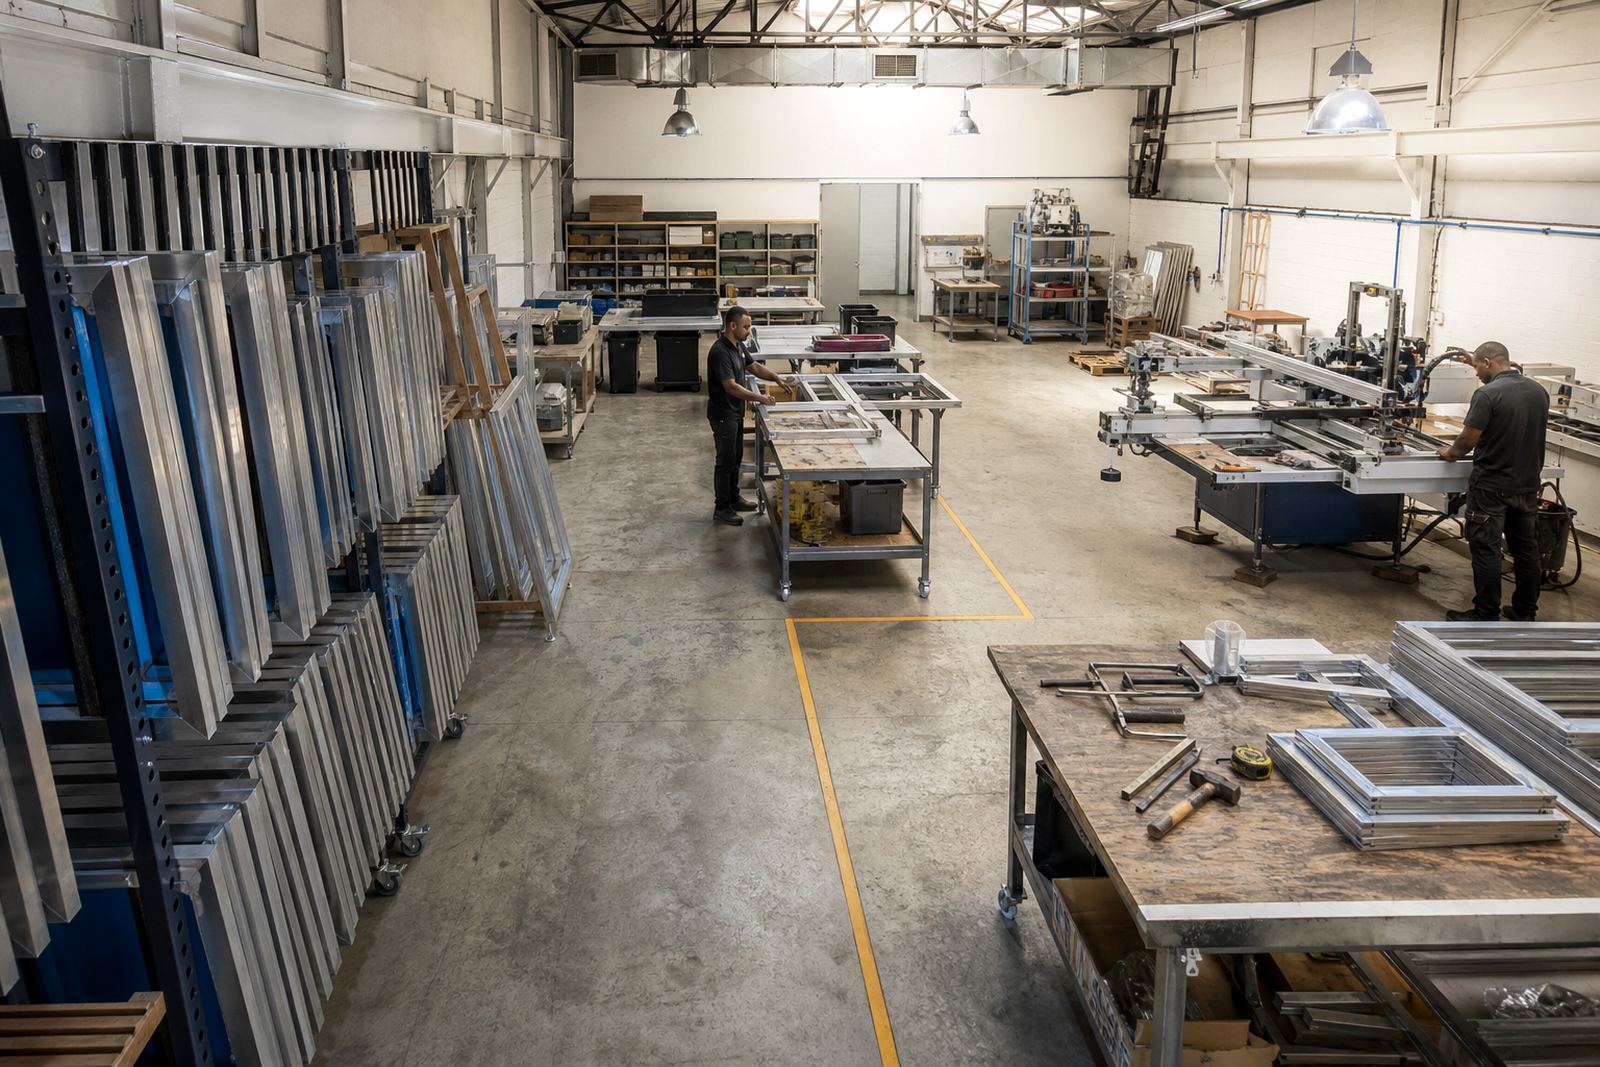
Make inspection part of the normal workflow, not something done only when a problem appears. A basic routine works well for workshops of any size, from Bellville collections to delivery routes that cover Paarl, Durban or Gqeberha. Once the team knows what to look for, bad frames are removed earlier and the press room stays steadier.
- Confirm the frame is clean and dry
- Check corners, welds and edges for damage
- Test mesh tension across the centre and corners
- Inspect the adhesive line for lifting
- Measure for squareness and size accuracy
- Set aside any frame with visible faults
If a frame fails more than one point on the list, do not force it back into production. Reinspection takes minutes. A failed print run can take hours.
When to Send a Frame for Repair or Restretching
Some signs mean the frame is no longer fit for normal use. Persistent slackness, repeated mesh failure, bent edges, damaged corners and poor bonding are all reasons to restretch or replace the screen setup. If the frame has been cleaned, checked and still does not hold proper tension, it is not worth pushing it through another run.
ScreenFrame works with garment printers across South Africa from our Maitland base, with deliveries and collections through Cape Town, Johannesburg, Durban, Pretoria and Gqeberha. For a shop in Cape Town that is coming out of a load-shedding heavy week, having reliable screens ready can make the difference between meeting dispatch times and playing catch-up. A proper inspection routine keeps that pressure lower and the workshop calmer.