
Start With the Jobs You Will Print Most Often
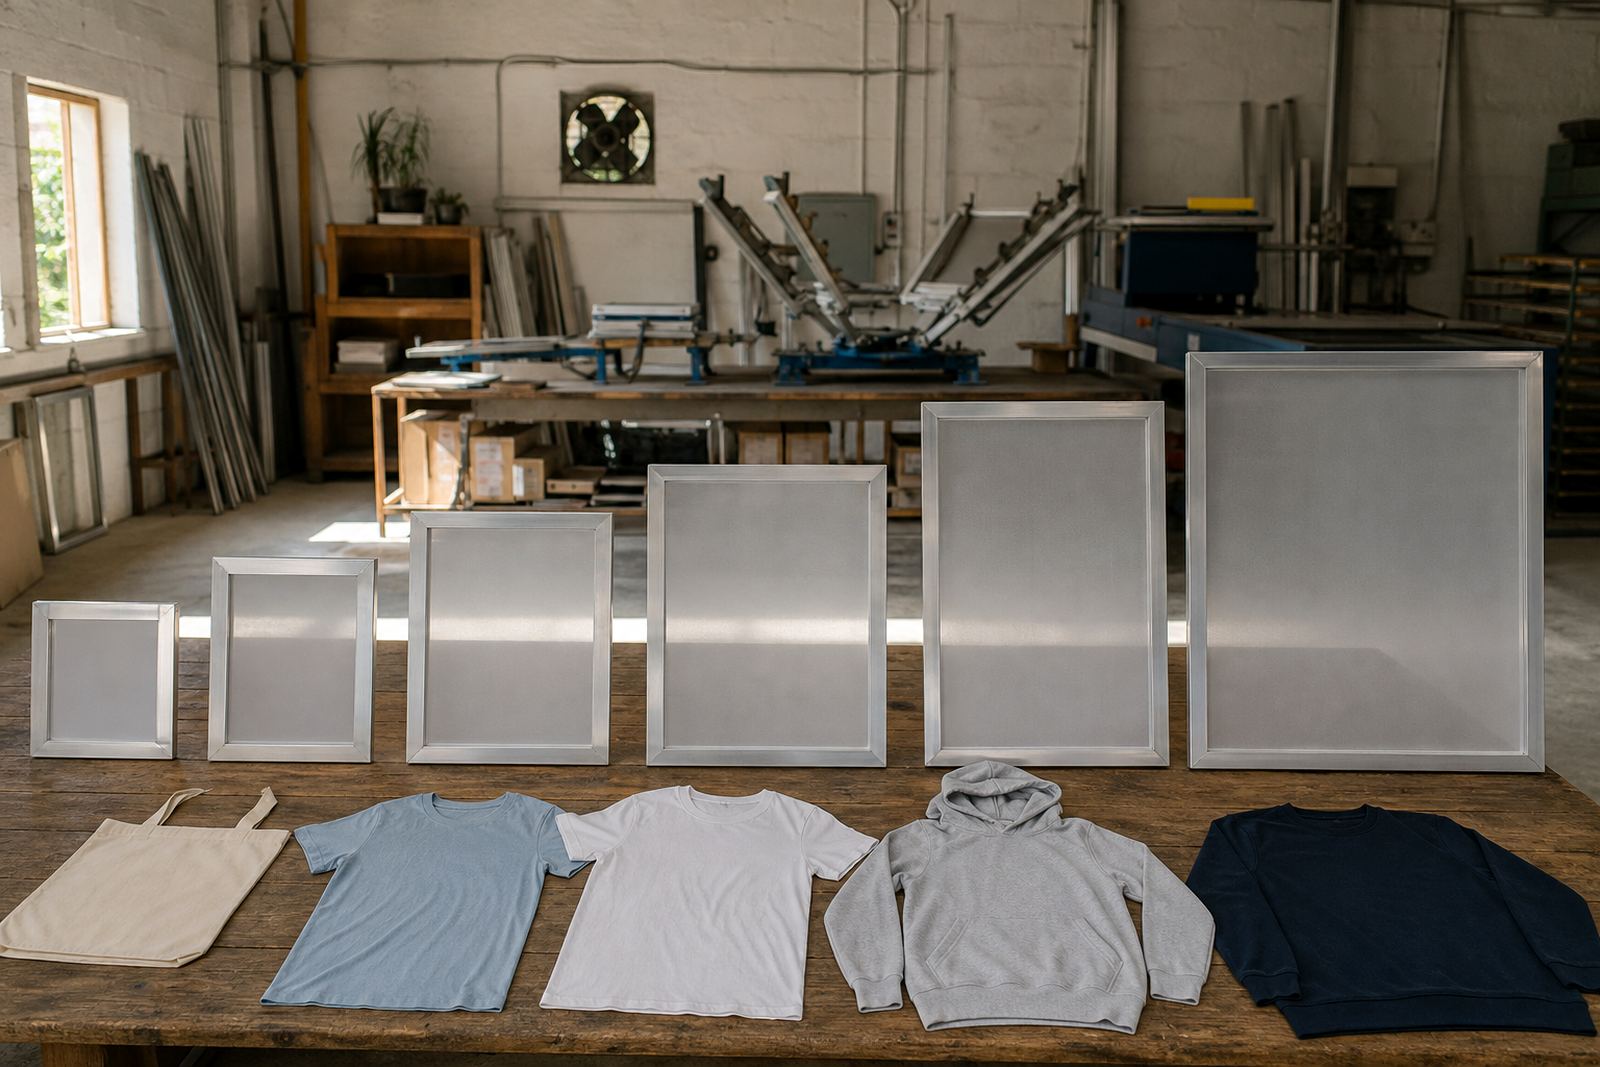
The best first screen size is the one that suits the garments you will print week after week. For many new printers in Cape Town, that means t shirts, golf shirts, hoodies and tote bags before anything else. If your first orders are mostly chest prints, a medium frame is usually more useful than a very large one. It gives you enough print area without making the frame awkward to coat, expose and wash out.
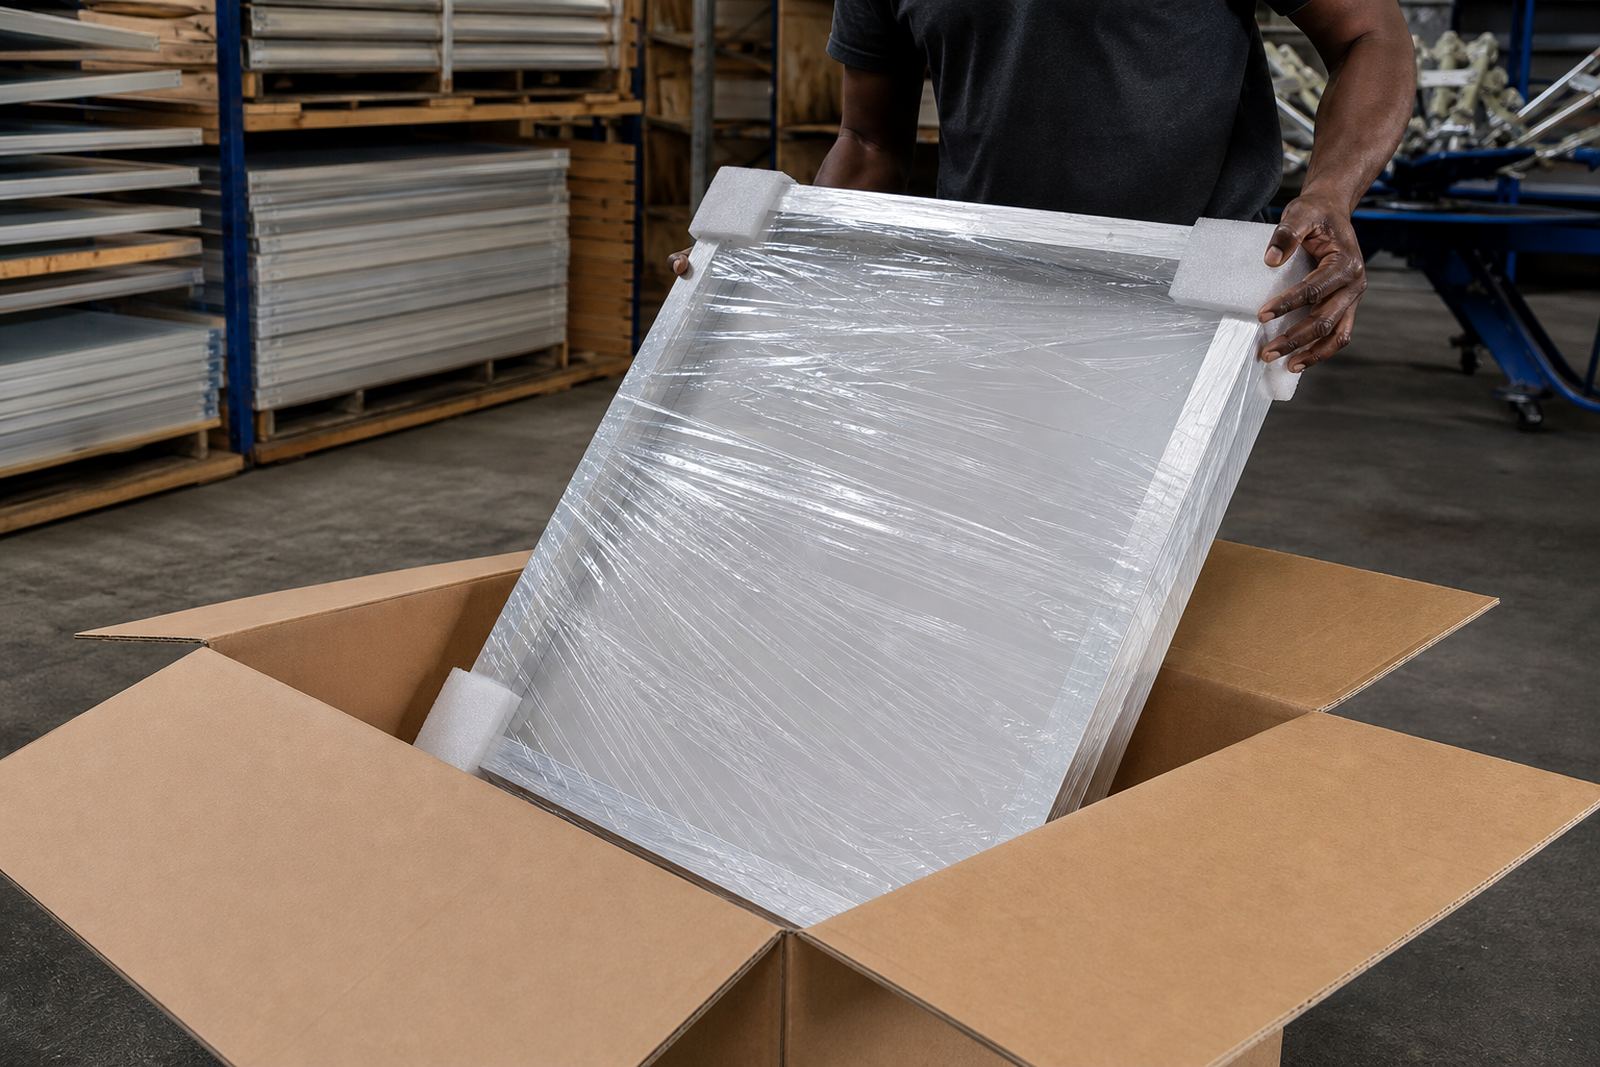
A common mistake is to choose one oversized frame because it sounds more versatile. In practice, a very big frame can be harder to store, heavier on the arms during setup, and slower when you are working from a small workshop in Maitland or a garage at home. A first screen should help you move quicker, not slow you down.
Think about whether you are printing single colour logos, larger back prints, or a mix of both. If you mainly handle left chest and sleeve marks, one practical frame size may carry you for months. If you already know you will do full front artwork, then you may need a second size sooner. Keep the first choice simple and useful, not ambitious.
How Frame Size Affects the Way You Work
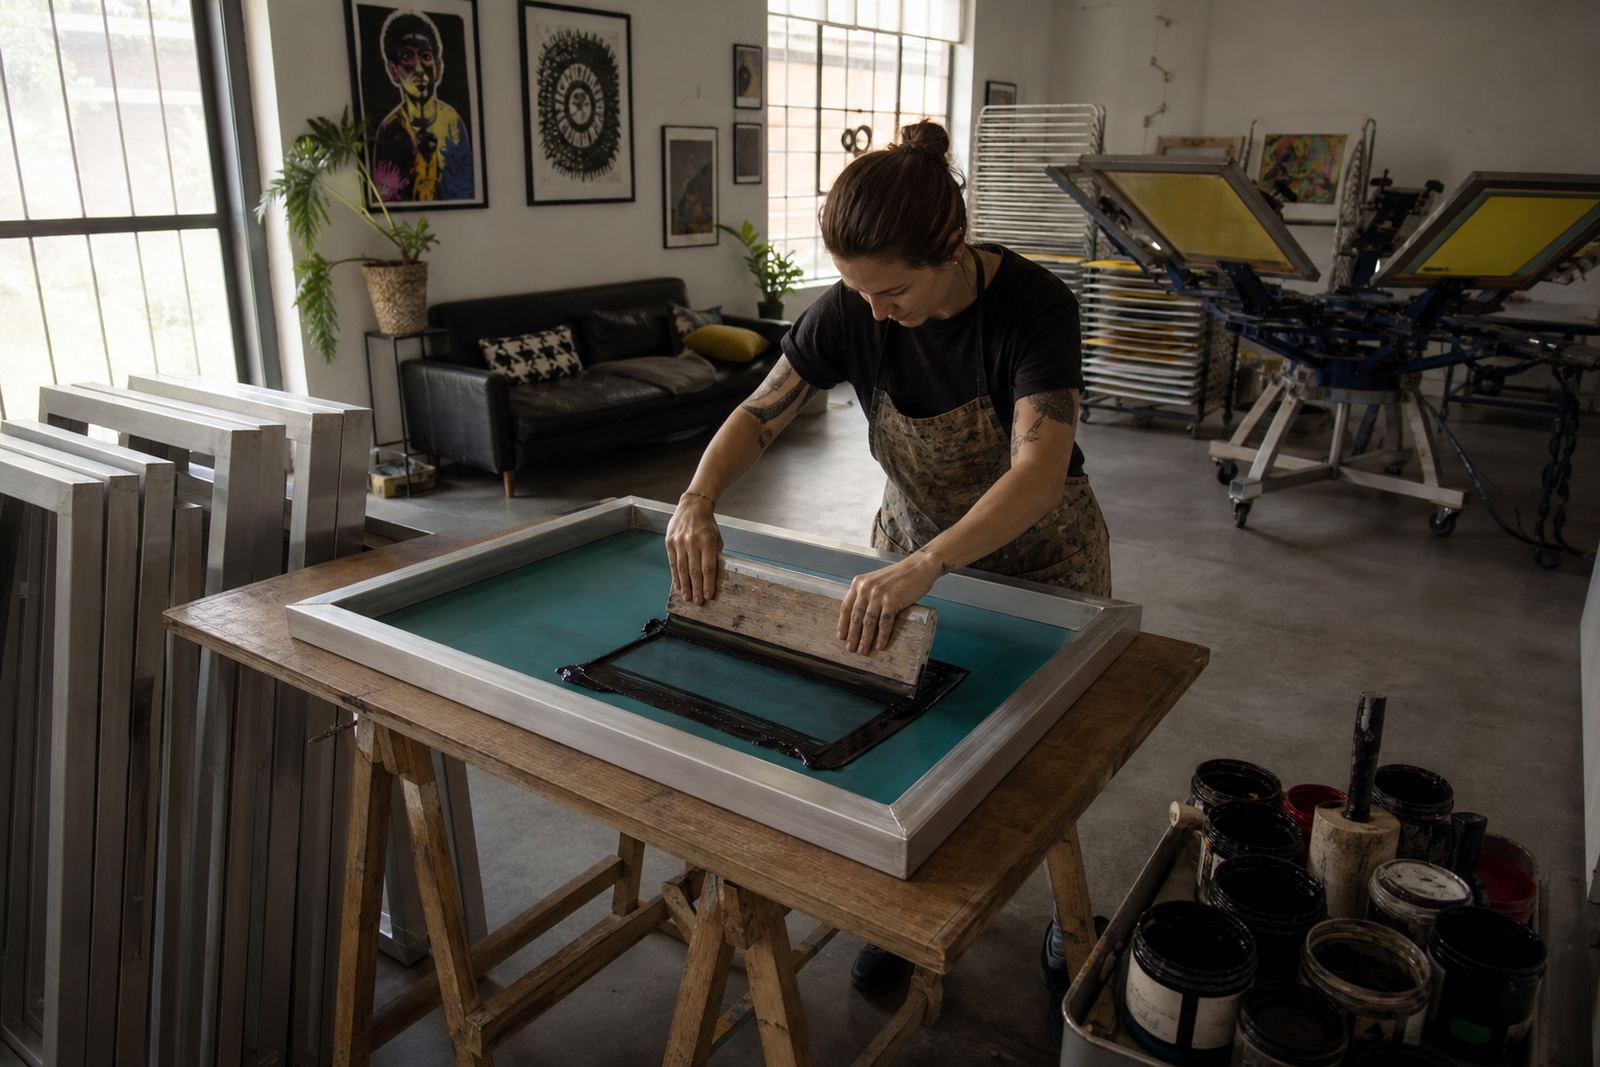
Screen size changes more than the print area. It affects how much adhesive you need, how easy it is to align the mesh, and how stable the screen feels on the press. Smaller frames are easier for beginners because they are lighter and easier to manage during cleaning and drying. Larger frames give you more artboard space, but they need more care when tensioning and storing.
In South African workshops, heat and humidity can also play a part. In Durban, for example, moisture can affect drying times and tension retention. Along the coast, you may need to check that your frames stay true and do not warp after repeated cleaning. In dry inland towns like Pretoria, dust can be more of a problem, so a good frame edge and clean storage matter just as much.
- Smaller frames: easier to stretch, coat and store
- Medium frames: a good balance for everyday garment work
- Large frames: useful for bigger artwork, but more demanding
- Custom sizes: helpful when your work starts to repeat a specific layout
A Practical First-Set Formula for New Printers
If you are starting from scratch, a mixed first set is often better than buying one size only. A good approach is to choose one smaller frame for compact prints, one medium frame for general work, and one larger frame for oversized artwork or future jobs. That gives you room to learn without filling the workshop with equipment you will not use.
For many new printers, a pratical starter set would include a frame for left chest work, one for standard front prints, and one for larger art. This covers most garment decoration jobs without needing constant adjustments. It also helps you learn how ink behaves on different print areas and how registration changes when the artwork grows.
- One small frame for compact logos and sleeve marks
- One medium frame for standard t shirts and golf shirts
- One larger frame for back prints or bold front artwork
- One spare frame if you expect busy weekends or urgent orders
If you are printing in bulk, keep the sizes consistent where possible. Matching frames make tension checks and handling easier, especially when you are working with more than one printer in the same day.
What to Check Before You Order or Stretch a Frame
Before you choose a first frame, measure the artwork area you actually need, not just the full garment. Leave enough margin around the image for coating, clamping and clean printing. If the print is too close to the edge, you may struggle to get even pressure or a clean flood stroke. That becomes obvious fast once the job is on the press.
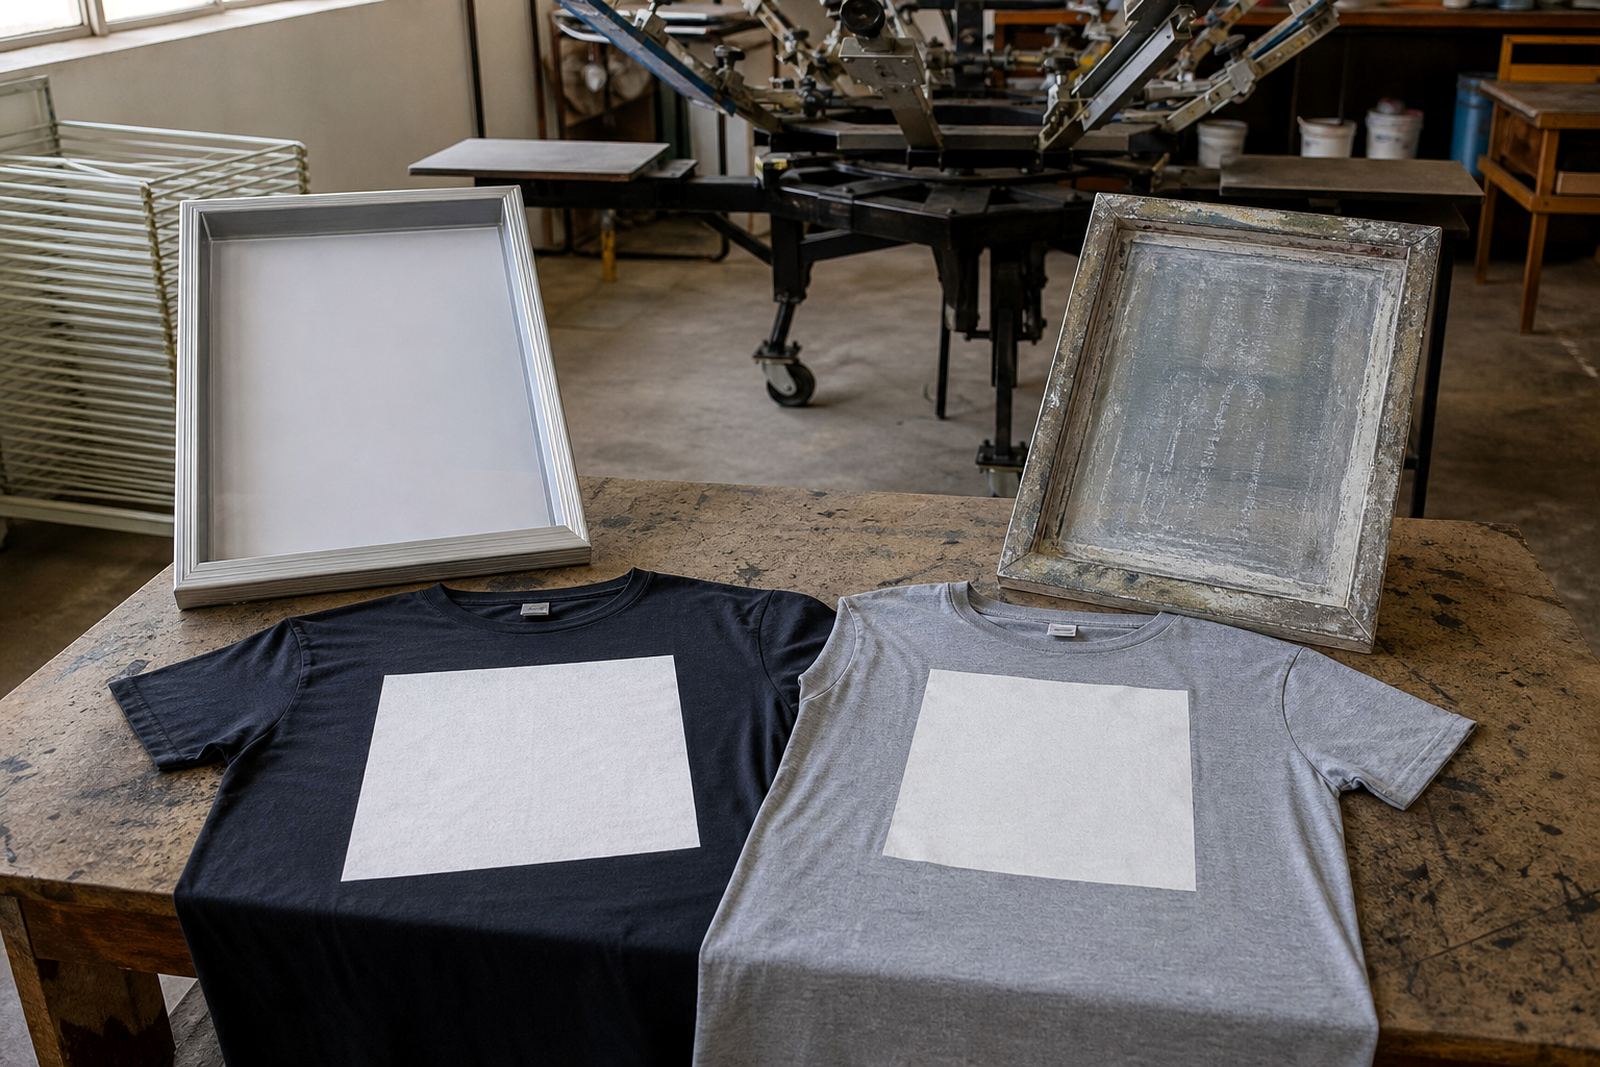
Also look at the mesh count and the type of ink you use. Fine detail needs a tighter mesh, while heavier ink deposits may need something more open. The frame itself should be square, straight and properly cleaned before stretching. If the aluminium is damaged or the corners are not true, the mesh will not sit correctly and you will chase faults later.
- Check the artwork size and leave practical border space
- Match mesh choice to the detail level of the print
- Inspect the frame for bends, dents or loose corners
- Make sure the frame is clean before adhesive goes on
Why Local Conditions Matter More Than New Printers Expect
In Cape Town, workshop conditions can change quickly. One day is cool and dry, the next day the air shifts and drying takes longer. In Maitland, where many printers work in shared industrial spaces, storage and airflow matter because a screen that dries unevenly can lose consistency. If you are near the coast, the sea air can also make metal parts and mesh handling a bit more demanding.
That is why the first screen size should be chosen with the workshop in mind, not only the artwork. If your storage space is tight, giant frames are a nuisance. If your workflow includes pickup and return, your screens should be easy to carry and stack. A local printer in Bellville who does school orders may need a different setup from someone in Gqeberha printing fashion pieces for a small label. Same trade, different rhythm.
It also helps to plan for load-shedding. When power cuts interrupt drying or exposure timing, smaller and medium frames are easier to keep moving through the day. Less waiting around means fewer bottlenecks and fewer mistakes.
When to Move Beyond the First Size
Your first frame size is not meant to last forever. Once you notice repeated jobs that sit awkwardly on the same screen, or you keep trimming artwork to fit, it is time to add a second or third size. That is often the point where a printer starts working more efficiently, because each frame now has a proper purpose.
For some customers, that happens after a few weeks. For others, it takes months. If you are doing bulk screen orders, or if your business is growing across Johannesburg, Durban, Pretoria and Gqeberha, then a small range of standard sizes will usually save more time than one all-purpose screen. The key is to let the work guide the sizes, not the other way around.
At ScreenFrame in Maitland, we often see new printers do better when they start with a sensible mix and then add custom sizes later. That keeps the workshop tidy, the screens easier to manage, and the printing process more predictable from the start.