
Why Polo Shirt Printing Needs The Right Frame Size
Polo shirts are not as forgiving as larger cotton tees. The placket, collar and button area leave less room to work with, so the frame has to support a print that is smaller, cleaner and placed with care. If the frame is too large for the artwork, you waste mesh and slow down setup. If it is too small, you can end up pushing the print too close to seams or the edge of the garment.
For chest logos, most printers in South Africa work with compact frames that suit one colour or a simple two colour job. That gives you enough open area to register the artwork properly without overcomplicating the press setup. On busy days in Maitland or when orders are being sent to Johannesburg and Durban, the right frame size saves time on the floor and helps keep repeat jobs consistent.
The goal is not just to hold the mesh. The frame must keep tension even across the whole screen, especially when you are printing on textured pique fabric. A well stretched screen gives a cleaner edge and better detail on small lettering, which is what most polo jobs need.
Best Frame Sizes For Chest Logos And Small Marks
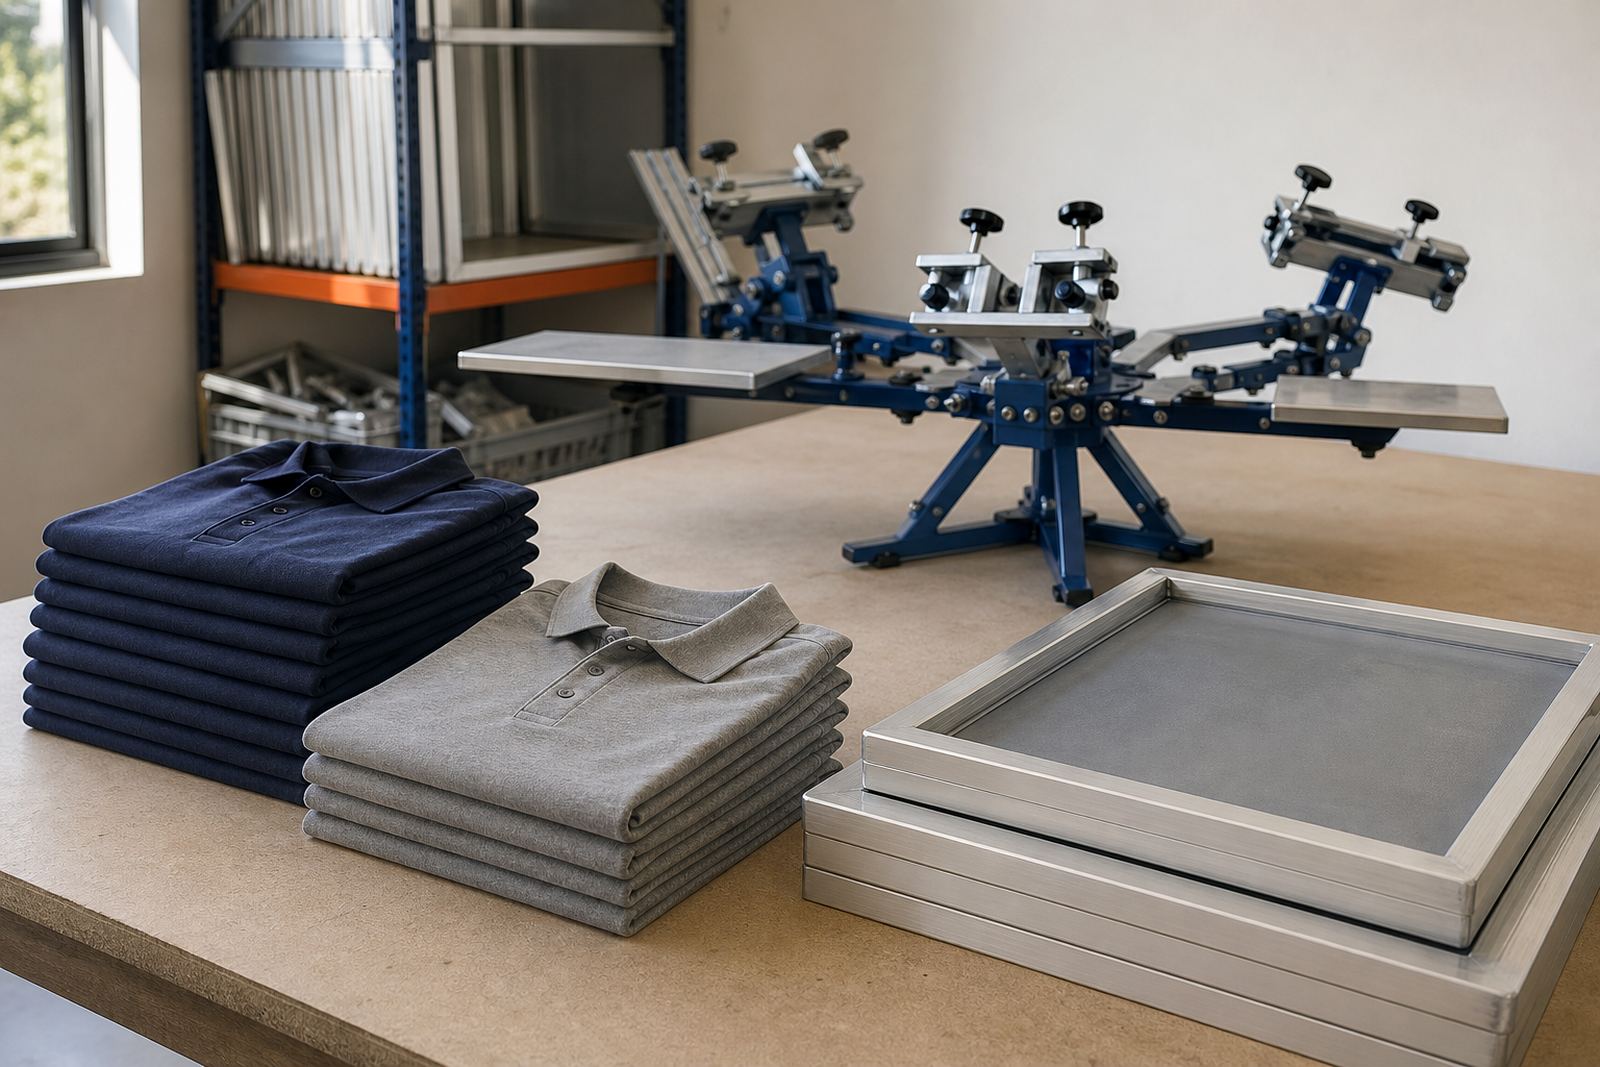
For standard chest logos, smaller aluminium frames are usually the best starting point. They are easier to handle, quicker to clean and more practical when you are running short batches or mixed garment sizes. Many printers prefer a frame that gives room for a compact image area while still leaving enough border for stable tension.
As a guide, the following frame types are commonly useful for polo work:
- Small frame for left chest logos, especially single colour marks
- Medium frame for slightly wider artwork or supplier badges
- Longer narrow frame for sleeve prints or stacked text
- Custom size frame when the artwork has unusual spacing or a set position
It also helps to think about the whole production run. If you are printing 20 polos for a school in Bellville, a small neat frame may be all you need. If you are handling a corporate order across Cape Town, Pretoria and Gqeberha, a custom size can keep the print consistent across sizes from small to 5XL without changing your layout every few garments.
For most chest placements, the print area should sit comfortably away from the collar and button line. That is why many printers choose a frame that gives them room to centre the design properly, not just one that matches the artwork size on paper.
What To Look For In An Aluminium Frame
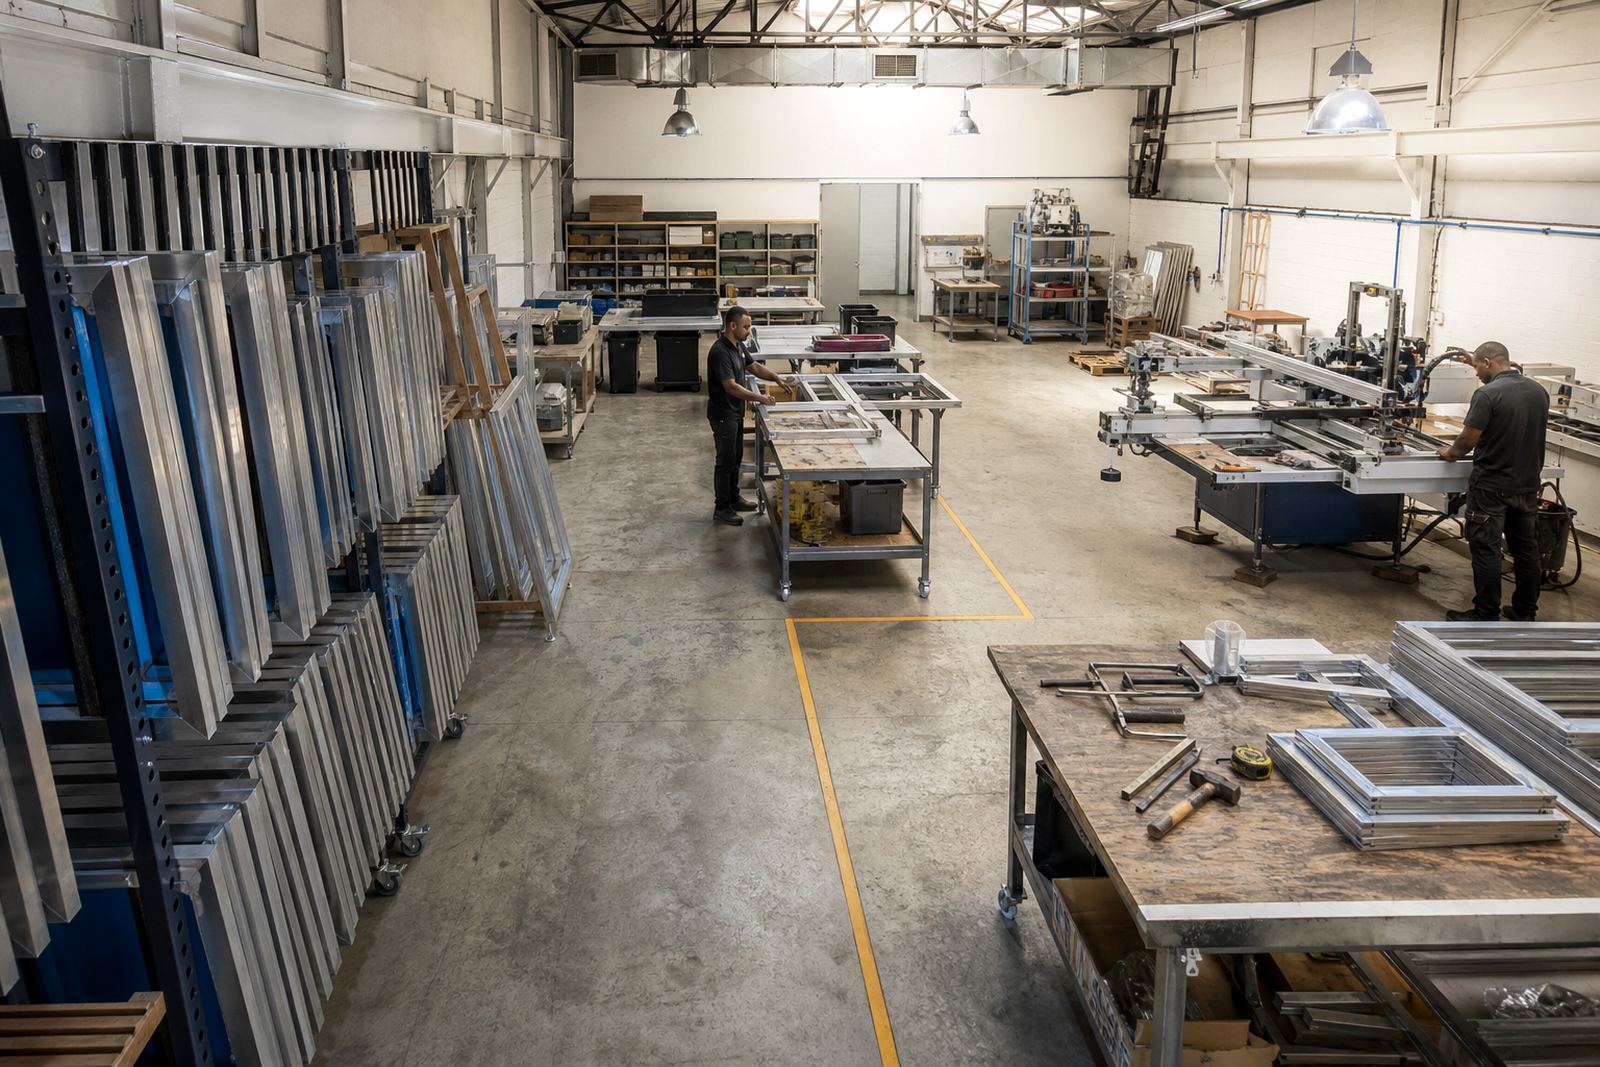
Aluminium frames are a practical choice for screen printing because they are light, straight and easy to move around the workshop. In a busy space, they are simpler to stack and handle than heavier alternatives, and they do not warp as easily when treated properly. That matters when you are drying screens in a warm Cape Town workshop or dealing with changing humidity along the coast.
When choosing a frame, check these points:
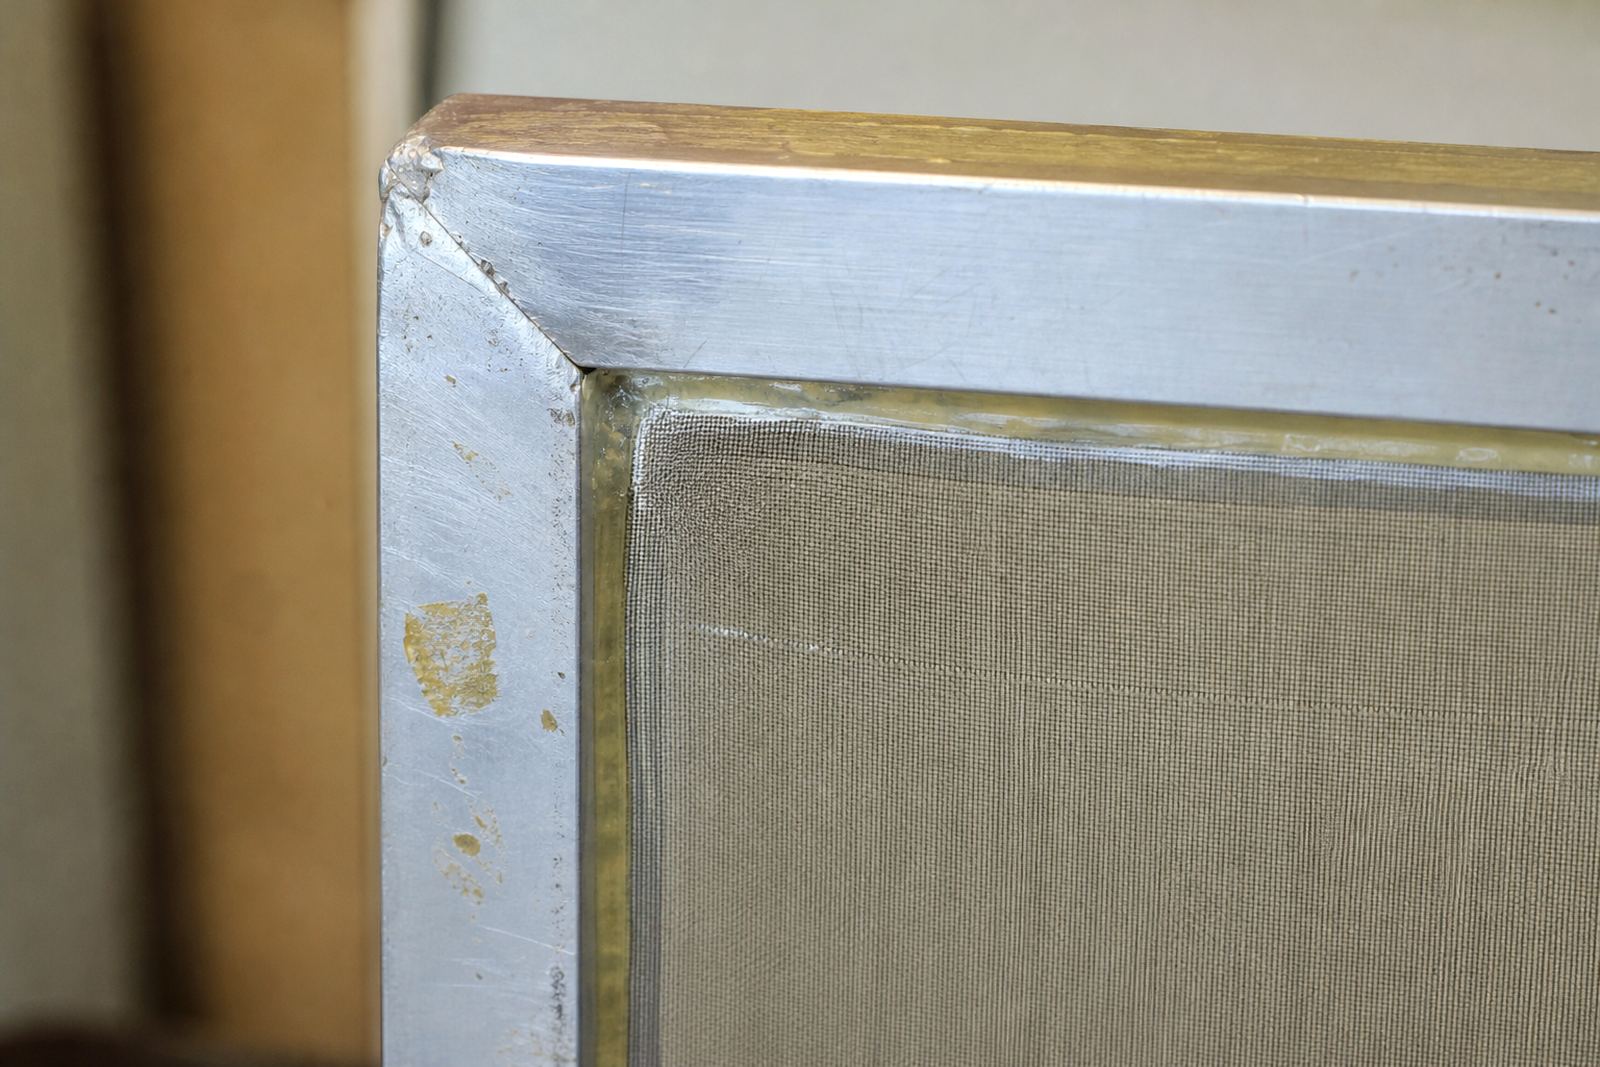
- Straight corners and clean joins
- Even frame depth for stable mesh tension
- Good surface preparation for adhesive bonding
- Enough rigidity for repeated use
- No dents, twist or rough edges that may affect stretching
A good frame should work hard for years if it is cleaned and stored well. Dust, old adhesive and ink build-up can affect the stretching surface, so regular frame cleaning is worth the effort. If a frame is reused often, tension checks become even more important, especially before a bulk order or urgent turnaround.
For garment printers who need neat results on polos, a well made frame is not a luxury. It is part of getting the job right the first time.
How Placement Changes The Frame Choice
Polo shirts usually carry one of three common print positions: left chest, right chest or sleeve. Each one changes how much working room you need on the screen. A left chest logo may look small on paper but still needs enough surrounding mesh so the image can be positioned accurately and off the seam line.
If the artwork is close to the button placket, you need a frame that allows for precise registration and a clean flood stroke. With sleeve prints, the available print space is narrower, so a longer frame shape may work better than a square one. For badge style prints, printers often keep the frame size compact to avoid unnecessary ink use and make the press easier to manage.
Here is a simple rule that helps in the workshop:
- Small logo = smaller frame with stable tension
- Neat badge or text block = medium frame with clear border space
- Sleeve or long placement = narrow frame suited to the layout
- Mixed garment runs = custom frame if the artwork repeats often
On a practical level, the best frame is the one that lets you line up the print without fighting the garment. That matters on polo shirts more than people expect, because the collar and buttons can throw off a rushed setup.
Stretching Quality Matters More Than Guesswork
A frame on its own does not do the job. The mesh tension, adhesive application and finishing all affect how the screen performs. If the mesh is loose, the ink can blur or print unevenly, which is a problem on small polo logos where every edge is visible. If it is stretched too tight or unevenly, the screen may wear faster and lose consistency over time.
Professional stretching is useful when you want repeatable results. It is especially important for printers handling branded corporate wear, school uniforms or retail work where the same logo may be printed across different batches. A proper stretch helps the image hold detail, keeps the squeegee stroke steadier and reduces frustration at the press.
Useful checks before a print run include:
- Test the mesh tension across the full screen
- Look for sagging near the corners
- Check the frame for cleaning residue or old glue
- Confirm the artwork sits comfortably inside the print area
If the screen has been in storage for a while, do not assume it is ready. A quick inspection saves mistakes, especially when load-shedding or tight deadlines mean you have less time to recover from a bad setup.
A Local Example From A Cape Town Polo Order
Consider a Cape Town clothing supplier printing 100 navy polos for a security company with logos on the left chest. The artwork is small, single colour and needs to look sharp on every shirt, from medium to 3XL. In that case, a compact aluminium frame with good tension is a better choice than a large general purpose screen. It keeps the print area controlled and makes the registration easier for the operator.
If the same client later orders a second run for Johannesburg and Durban, consistency becomes the main issue. The screens must match closely so the logo sits in the same place on every shirt. That is where bulk screen orders, custom size stretching and pickup and return arrangements help production teams keep up with demand.
For printers in Maitland and nearby areas, the best setup is often simple: choose the frame size around the print, not around the garment. Then check the tension, clean the frame properly, and keep a note of the job details for the next repeat order. That small habit can save a lot of time later.
Getting The Right Frames Ready For Repeat Polo Jobs
If polo printing is a regular part of your work, it helps to build a small system around the frames you use most. Keep a record of the sizes that suit your usual chest logo range, and separate the screens that are set aside for urgent work from the ones waiting for mesh replacement. That way your workshop stays organised and your turnaround times stay practical.
A useful setup usually includes:
- One or two small frames for standard left chest jobs
- A medium option for slightly wider logos
- A narrow frame for sleeve or text placements
- Spare frames ready for restretching when production picks up
ScreenFrame works with garment printers across South Africa from Cape Town to Pretoria, Gqeberha and beyond, with services that support new stretching, restretch existing frames, mesh removal, frame cleaning and tension checks. For polo work, that kind of support makes a difference because small print areas leave little room for error. If the frame is right, the print usually follows.