
Start With the Purpose of the Sample
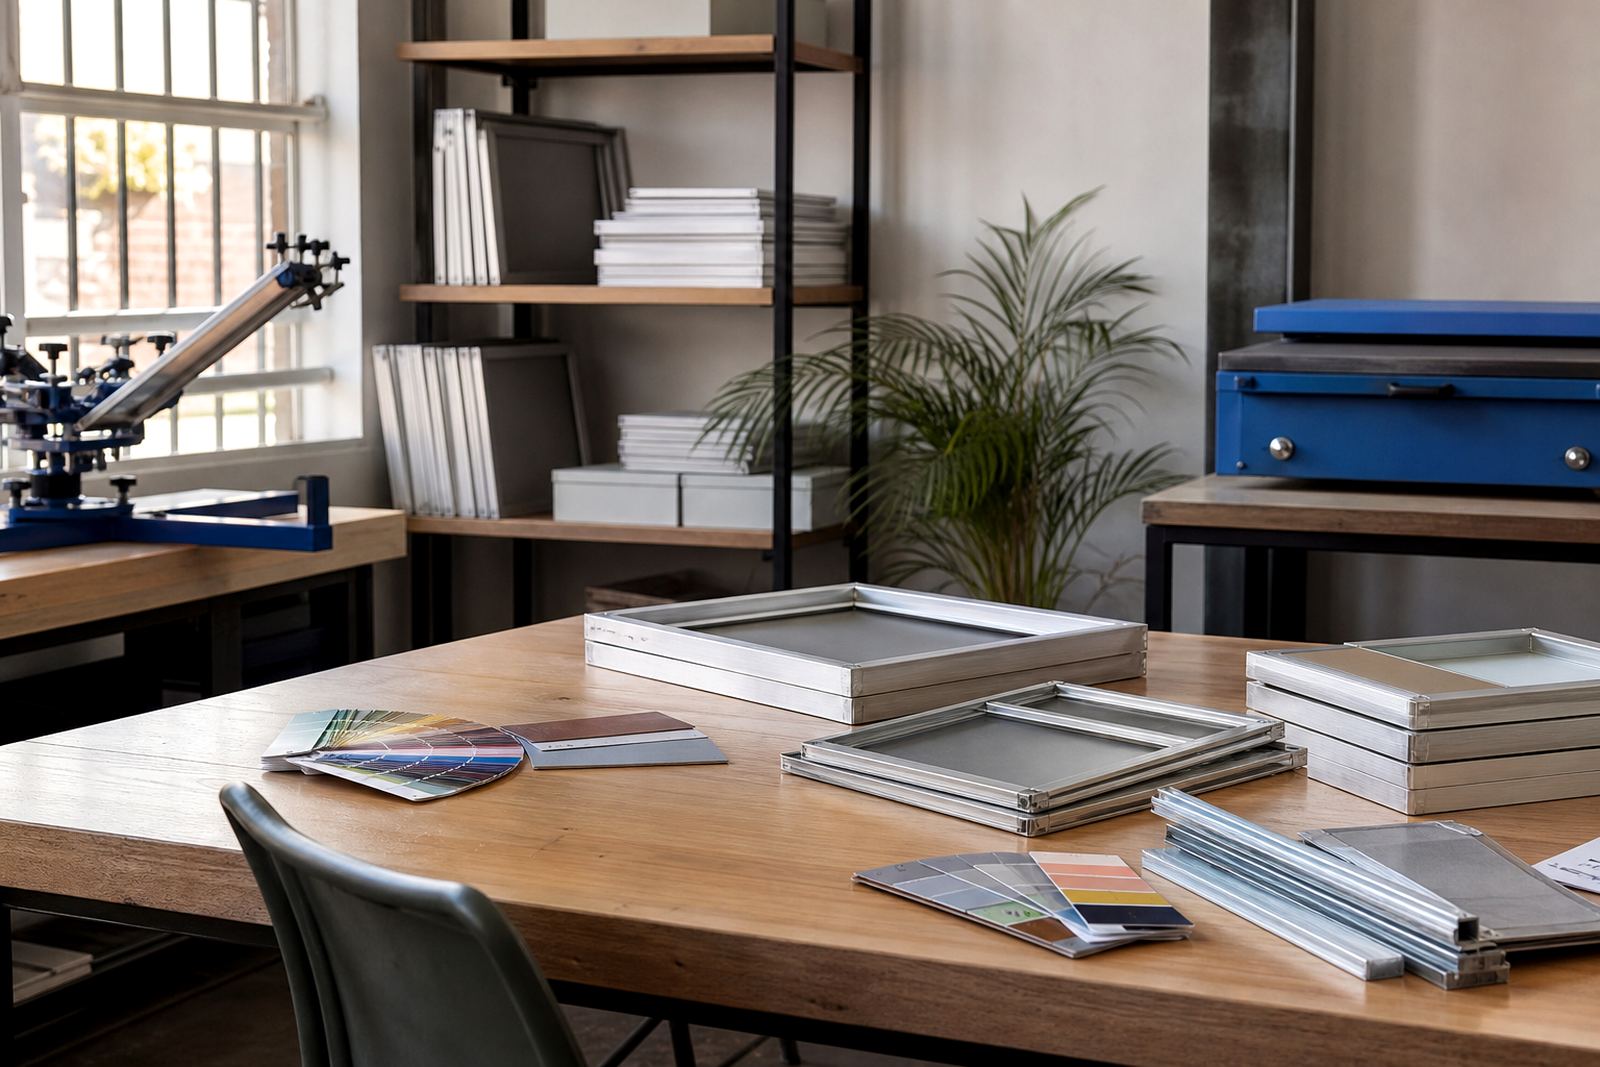
Not every sample needs the same frame. A colour approval for a single logo, a wash test on a new fabric and a full repeat trial all need different levels of control. In a sample room, the frame should match the job size, the artwork and the number of prints needed before production starts.
For small approvals, a compact frame is often the best choice because it is easier to register quickly and uses less screen area for each test. For development work where the print needs to be adjusted several times, a larger format gives more room for off-contact checks, margin notes and artwork changes without remounting the mesh every time.
- Single logo approval: use a smaller frame format
- Artwork testing: use a medium frame with extra border space
- Repeat or repeat-repeat development: use a larger frame for layout freedom
- Short trial run for a client: choose the same size that will be used in production if possible
Frame Formats That Work Well in Sample Rooms
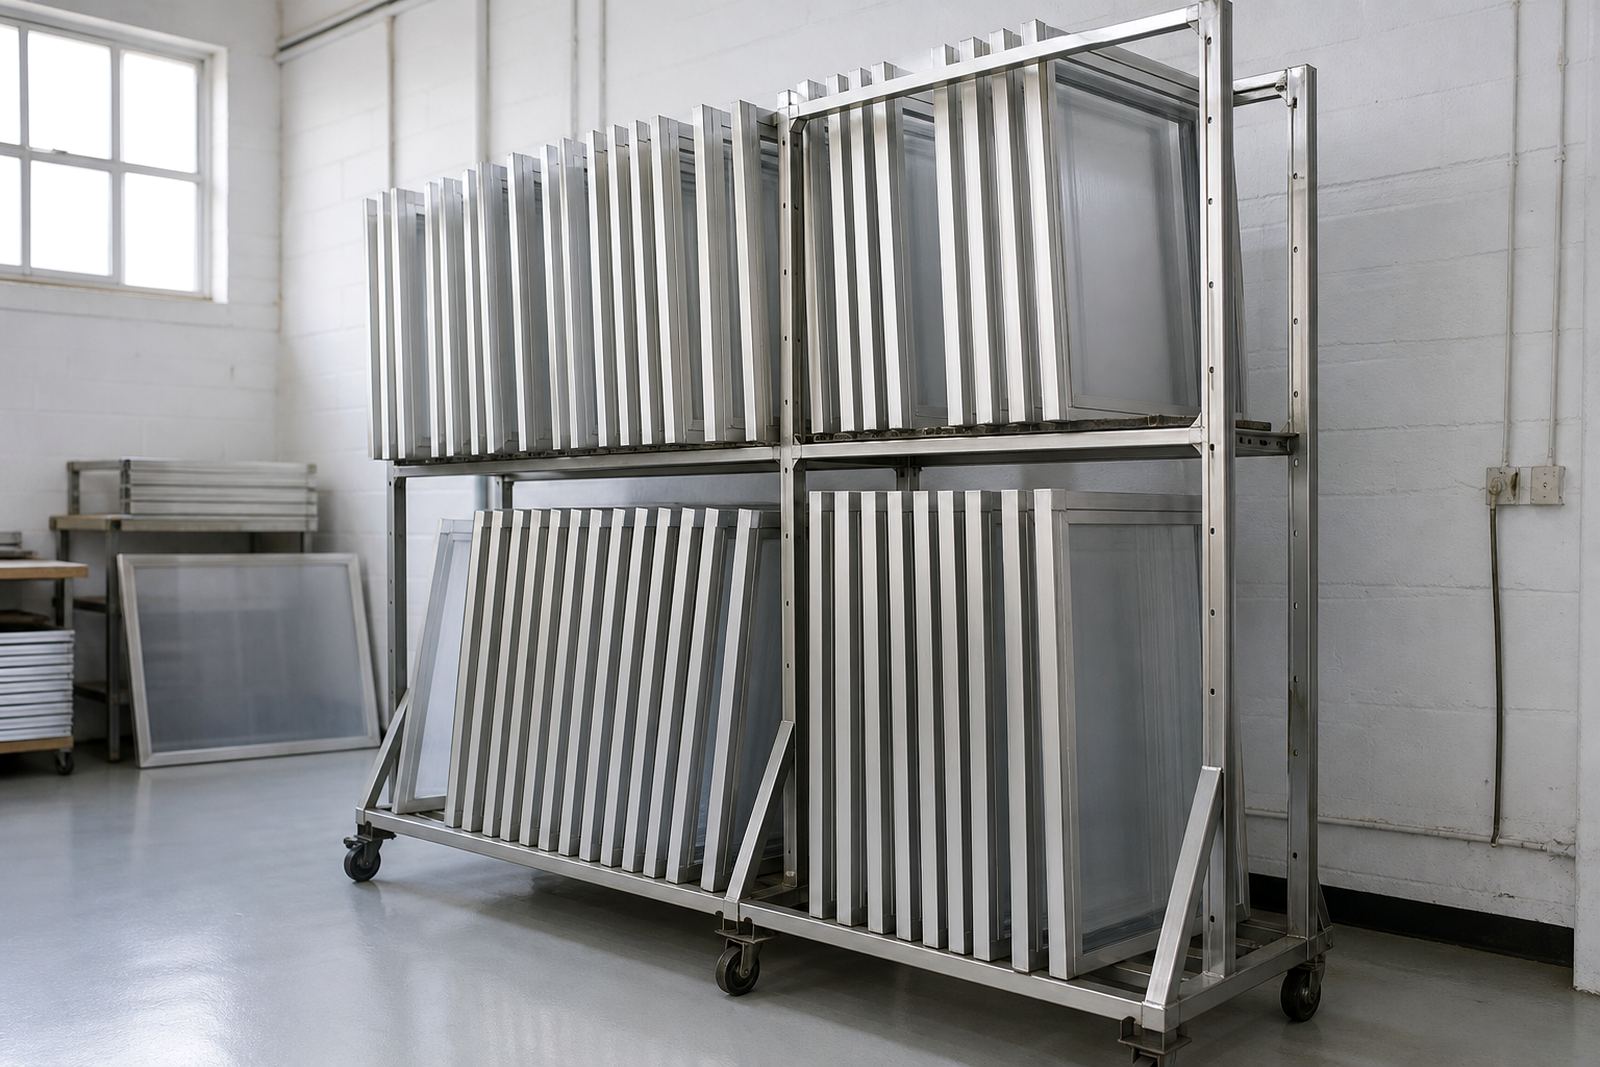
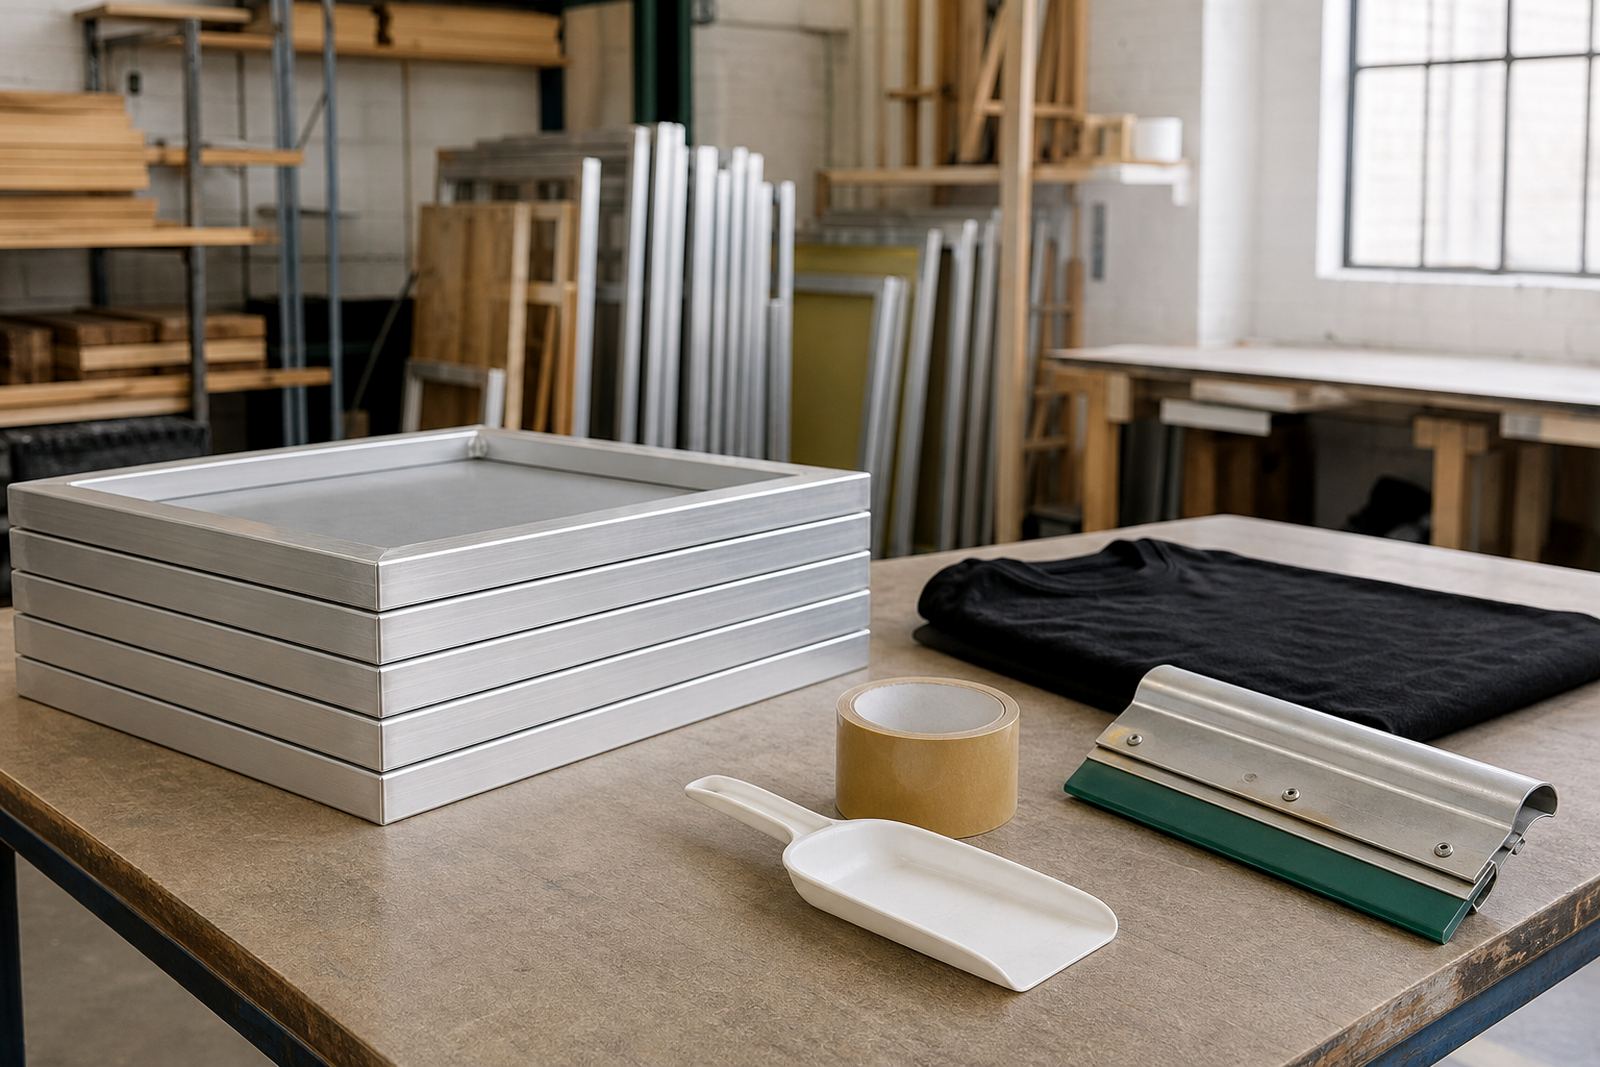
For garment decoration, the most useful sample room frames are usually square or rectangular aluminium frames with consistent edges and enough depth to hold tension well. A clean, straight frame helps when you are checking registration, edge sharpness and stencil lift. If the frame twists or sits unevenly on the press, the sample can mislead you and waste product.
In Maitland workshops and print rooms across the country, printers often keep a few common sizes ready for quick testing. Smaller frames are handy for pocket prints, chest logos and sleeve marks. Medium frames work well for front and back prints on tees. Larger frames are better for bold graphics, multi-colour approvals and jobs that need more open print area.
- Small format: quick approval, fine detail, minimal ink use
- Medium format: most common for T-shirts and everyday development
- Large format: multi-position testing and bigger artwork layouts
- Custom size: use when the garment or artwork falls outside standard sizing
How to Set Up a Trial Properly
A sample should be set up the same way you plan to run the real job. That means using the same mesh count where possible, the same adhesive method, the same squeegee pressure and the same curing approach. If you change too many variables at once, you cannot tell what caused the result.
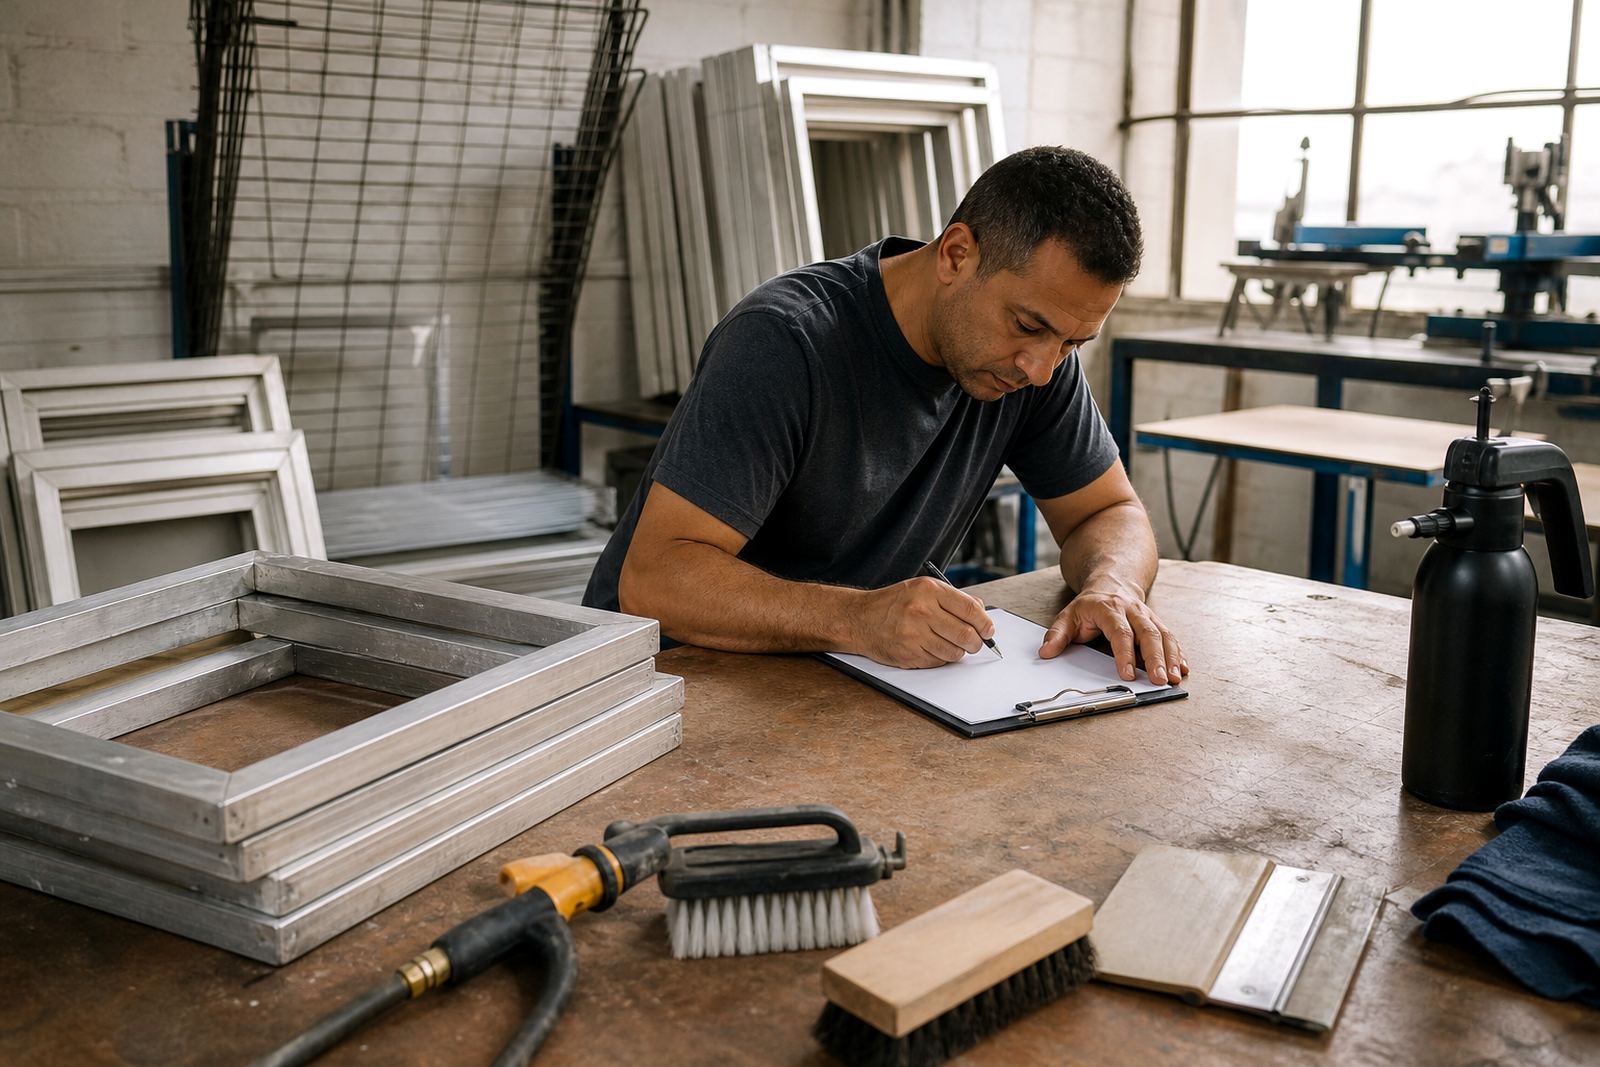
Before printing, inspect the frame for dents, loose corners, adhesive build-up and mesh damage. A quick tension check will show whether the screen is ready for fine detail or better suited to a blockier print. If the mesh has been removed and re-stretched, clean the frame properly so leftover glue does not affect the next screen.
- Check frame straightness and corner strength
- Confirm mesh tension before exposing artwork
- Test registration with scrap garments or offcuts
- Keep note of mesh count, ink type and cure settings
- Record any issues before you move to the next sample
When to Use Restretched Frames for Development Work
Restretched frames are useful when you already have a frame size that suits your sample process but the mesh is worn, damaged or no longer holding tension. For development printing this can be the more practical option because you keep the same frame dimensions and simply renew the working surface. That helps when you are comparing colour, fine detail or print feel across more than one round of tests.
A restretched frame can also make sense when the team is running short lead times. If a sample needs to go out before lunch in Cape Town or before dispatch to Johannesburg, a ready frame can save a lot of waiting. It is still important to check the frame body itself for warping, residue and loose edges before reusing it.
- Use restretched frames when the size already works for your process
- Choose new mesh if the current screen has lost tension or has pinholes
- Inspect for adhesive failure before stretching again
- Replace frames that no longer sit flat on the press
Sample Room Checklist Before You Approve a Job
A good sample room keeps the process tidy and repeatable. The aim is to avoid surprises once the order moves from trial print to bulk production. This is especially important in South Africa where turnaround time, courier cut-offs and workshop load-shedding can change the day plan quickly.
Use a simple checklist before you sign off the sample. If anything feels off, fix it while the job is still small. It is far cheaper to adjust a frame or screen now than to correct fifty garments later.
- Artwork checked and scaled correctly
- Frame size matches the print area needed
- Mesh tension suitable for the detail level
- Screen clean and free from old adhesive
- Test print cured and washed if required
- Approval notes captured and shared with production
Choosing the Right Supply Route for Repeats and Bulk Orders
Once a sample is approved, the same frame format should be easy to repeat for future jobs. Printers in Pretoria, Durban, Gqeberha and inland towns often need a stable supply route so the sample room can keep moving without last minute changes. If your sample frame is a custom size, keep a clear record of the dimensions, mesh count and use notes so the next order matches exactly.
For regular work, it helps to separate frames for approvals, production trials and urgent turnaround jobs. That way the sample room does not have to strip a screen mid-week just to create one more test. A clean system saves time and keeps the workshop calmer when orders come in thick and fast.
- Label frame sizes and mesh counts clearly
- Keep approval frames separate from production screens
- Record repeat jobs so the same setup can be ordered again
- Plan for pickup, return or delivery before the next sample run