
Start With the Job, Not the Frame
Before you measure anything, work out what the screen must do on the press or printing table. A frame for a small left chest print will not need the same opening as a frame for a large back print, and that affects mesh choice, print area and the space you need for clamps or tape up. If you are printing in a workshop in Maitland or sending work between Cape Town and Johannesburg, a clear job brief saves time on both sides.
Think about the garment type, artwork size, number of colours and how often you will reuse the screen. If you are ordering for a short run on a few dozen shirts, you may want a different size than for a busy production week with repeated runs. Keep the brief simple but specific, and include any limits such as press size, pallet size or the need to stack frames for storage.
- Garment type: T shirts, hoodies, workwear or tote bags
- Print size: artwork width and height in millimetres
- Number of colours: single, 2 colour or multi screen work
- Machine or method: hand bench, carousel, clamping setup or manual table
- Storage limits: space in the workshop, vehicle or rack
Measure the Artwork and Allow for Screen Margin
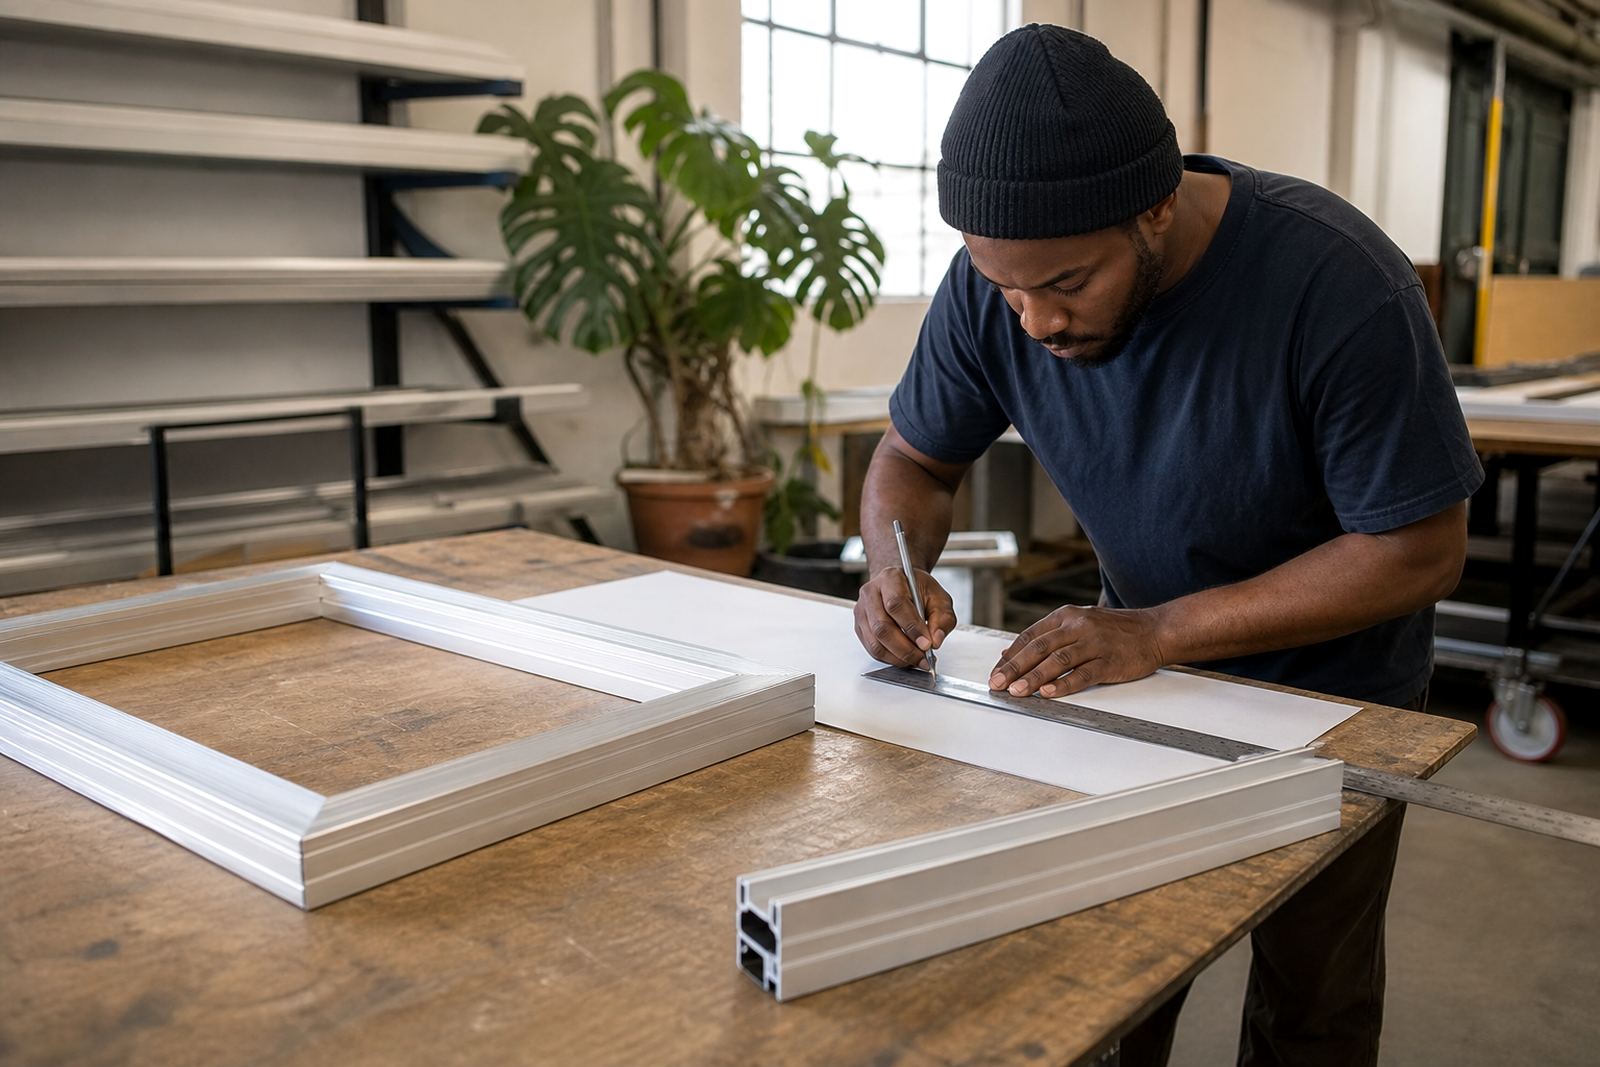
The most common mistake is measuring only the artwork and forgetting the margin around it. The screen needs enough open area around the image for clean tape up, good ink control and a proper mesh edge. Measure the full image area, then allow space around it so the screen is not too tight for the job.
Use millimetres, not inches, and measure the widest point in both directions. If your artwork has a long horizontal shape, such as a chest logo or sleeve print, note the orientation as well. For larger jobs in coastal areas like Durban or Gqeberha, it also helps to allow a bit of extra room for easier cleaning and handling when humidity is high.
- Measure the artwork width and height at the widest points
- Add margin for tape up and handling
- Note if the print will sit high, low, central or off to one side
- Record whether the screen will be used for one print or several positions on the garment
Choose the Frame Size That Fits the Press and the Print
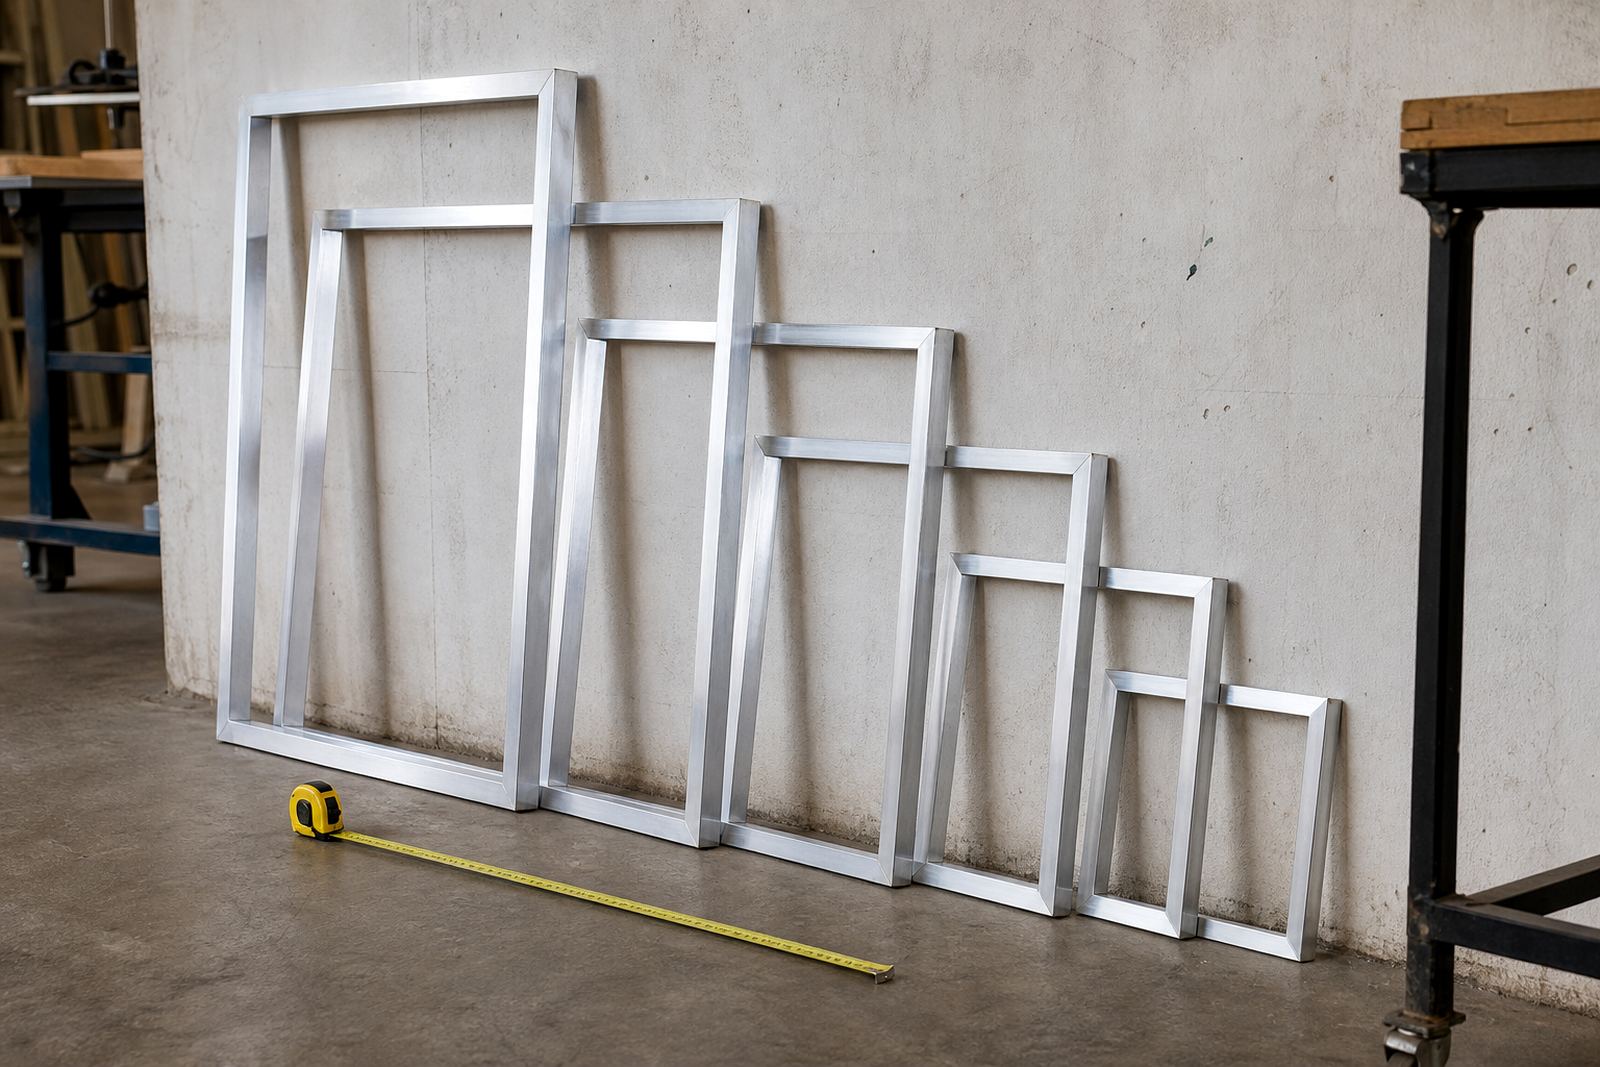
A custom frame should fit your working method, not just the artwork. If the frame is too large, it may be awkward on a small press. If it is too small, you may lose usable print area or struggle with consistent registration. The right size is the one that gives you enough mesh space while still moving comfortably through your setup.
When you brief us, tell us the minimum and maximum size you can handle. That is especially useful for customers who print in different locations, such as a Cape Town workshop one week and a Pretoria job the next. If your team uses one frame across multiple jobs, mention whether you want a standard size that can handle repeat work. For Durban deliveries and other coastal routes, it can also help to mention if frames will sit in storage for a while before use, so the advice can match your handling and cleaning routine.
- Minimum frame size your press can take
- Maximum frame size that still handles comfortably
- Any clamp or hinge position limits
- Whether you need one size for many jobs or a size for one specific print
Give Us the Details That Prevent Rework
A good brief includes the facts a workshop needs before stretching starts. If you already have existing frames, tell us the frame condition, the current mesh if known, and whether you want restretching or a new stretch. If the frame has old adhesive, damaged corners or uneven tension, that changes the preparation work and can affect turnaround times.
Let us know if the order is urgent, whether you need pickup and return, and if the job is for a bulk run or a single screen. For businesses supplying printers across Gauteng, the Western Cape and KZN, a few extra details can avoid a second round of questions. Clear information means fewer delays, less back and forth, and a better fit on the day.
- New stretch or restretch existing frames
- Frame condition, including damage or old mesh
- Quantity required and deadline
- Delivery area or collection point
- Any special notes about ink, fabric or wash resistance
Check Mesh, Tension and Use Before You Confirm
Frame size is only one part of the order. The mesh and tension must suit the type of printing you do. Fine detail, large solid blocks and heavier inks each place different demands on the screen. If you are unsure, tell us what you print most often and we can guide the setup from there.
In summer, especially in hotter inland areas, screens can behave differently than in cooler coastal conditions. Good tension and correct mesh choice help keep prints consistent, even when the workshop gets warm or a load-shedding break interrupts the day. A well prepared screen is easier to clean, faster to set up and more reliable over repeated runs.
- Fine detail work may need a different mesh to solid block printing
- High tension is useful for clean print release and better repeatability
- Ask for a tension check if you are reusing older frames
- Tell us if the screen will be used for water-based or solvent based inks
Simple Briefing Checklist Before You Submit the Order
Use this checklist before you send your enquiry. It keeps the order neat and makes it easier for the workshop to quote and schedule the work. You do not need a long story, just the right facts in one place.
If you are sending multiple screens, label each one by size or job name so there is no confusion. This is especially useful for customers with ongoing production in Bellville, Paarl and the wider Cape Town area, or for teams managing deliveries into Johannesburg and Pretoria. A tidy brief is the quickest way to get the right frame back in your hands.
- Artwork size in millimetres
- Frame size required or size limits
- New frame or restretch
- Quantity needed
- Deadline and preferred turnaround
- Collection, delivery or pickup and return
- Any notes on mesh, tension or special handling
What to Expect After We Receive Your Brief
Once your enquiry comes through, we review the measurements, job type and timing before confirming the next step. If anything is unclear, it is better to ask at the start than to correct it later. That keeps the order accurate and helps avoid wasted material or missed deadlines.
For bulk screen orders or urgent turnarounds, we will look at the full schedule and the route needed for delivery or collection. If your workshop needs a steady supply, it helps to plan a few screens ahead instead of waiting until the last one is finished. That way your production keeps moving, even during busy weeks.
We work with garment printers across South Africa from Maitland to Durban, Pretoria, Gqeberha and beyond, so the same process has to work for many different setups. The more exact your brief, the better the finished screen will suit your job.