
Start With the Print Area, Not the Frame
The first mistake many printers make is buying by guesswork. Start with the print area on the garment, then work back to the frame size you need. A frame must give you enough mesh around the image for proper tension, tape, and handling, with a bit of extra space for cleaning and re-stretching later.
For garment work, the print area is usually smaller than the overall frame opening. That extra border matters because it keeps the image stable when the squeegee passes across the screen. If the frame is too small, the stencil sits close to the edge and the screen can lose tension faster.
- Measure the widest and tallest part of the artwork.
- Allow room for a clean border around the image.
- Leave extra space if you print at higher tension or use thicker ink deposits.
- Check whether the garment is a T-shirt, hoodie, bag or special panel before choosing the size.
If you are printing in Cape Town, Johannesburg or Durban, remember that workshop conditions also affect sizing choices. Heat, humidity and storage space all influence how a screen performs over time.
Common Frame Sizes Used for Garment Printing
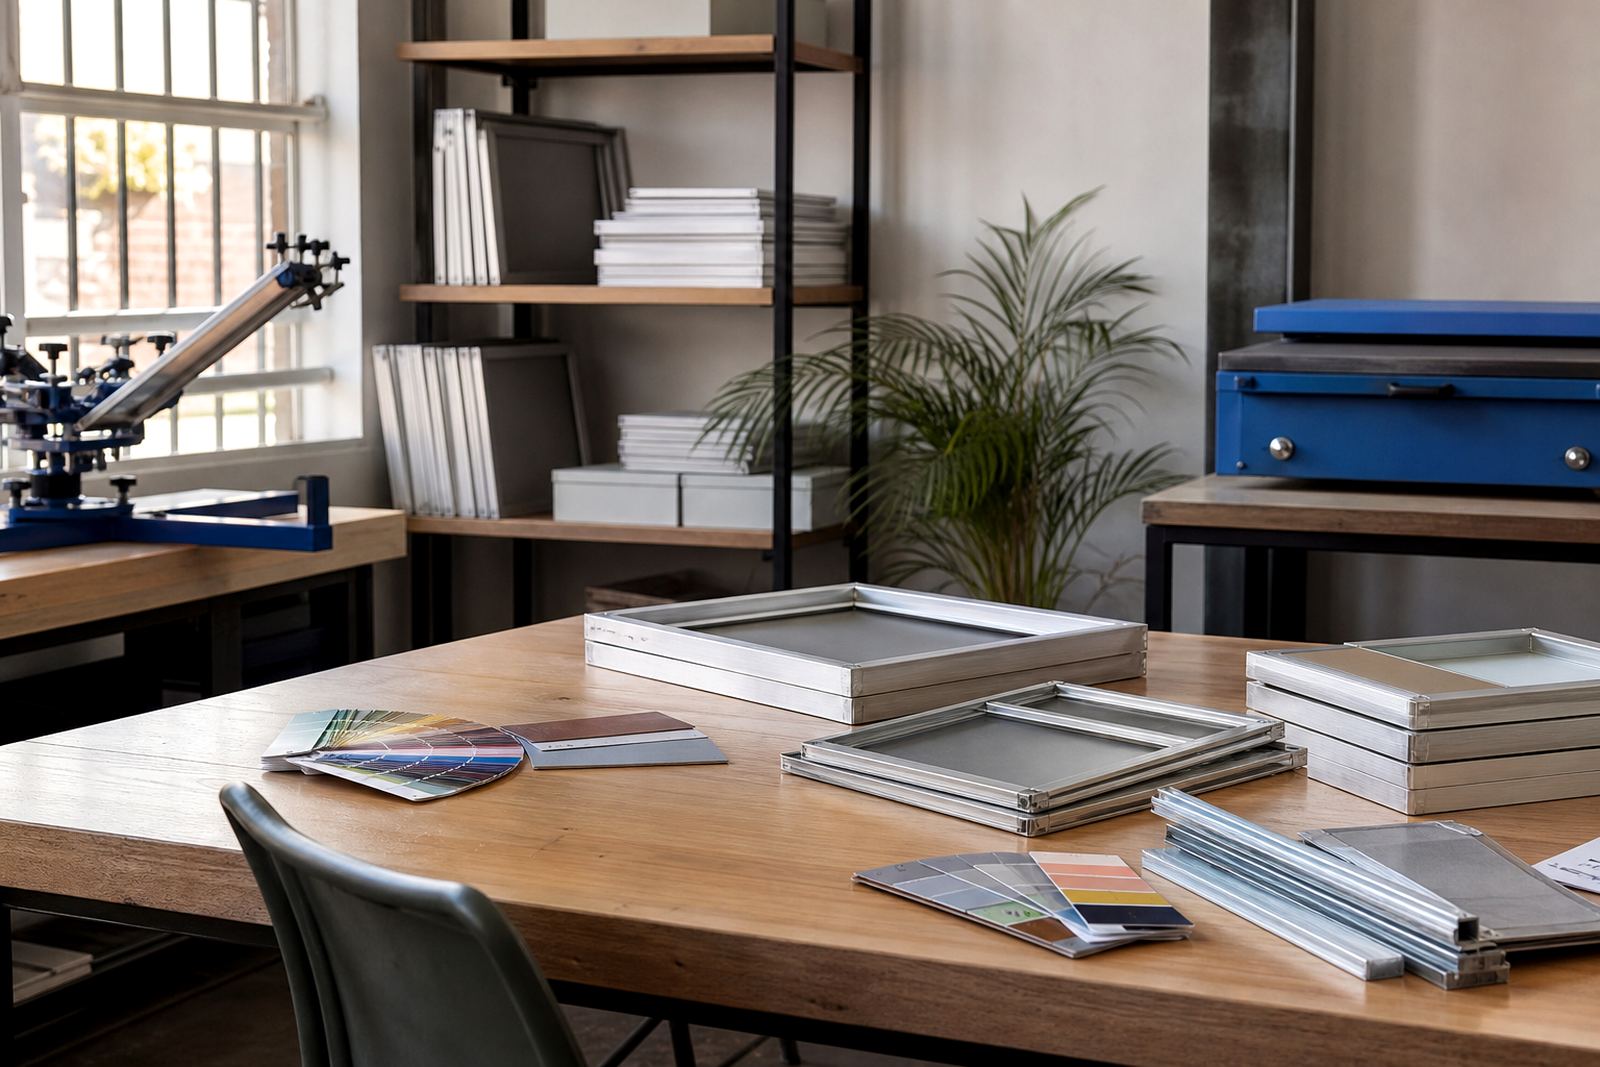
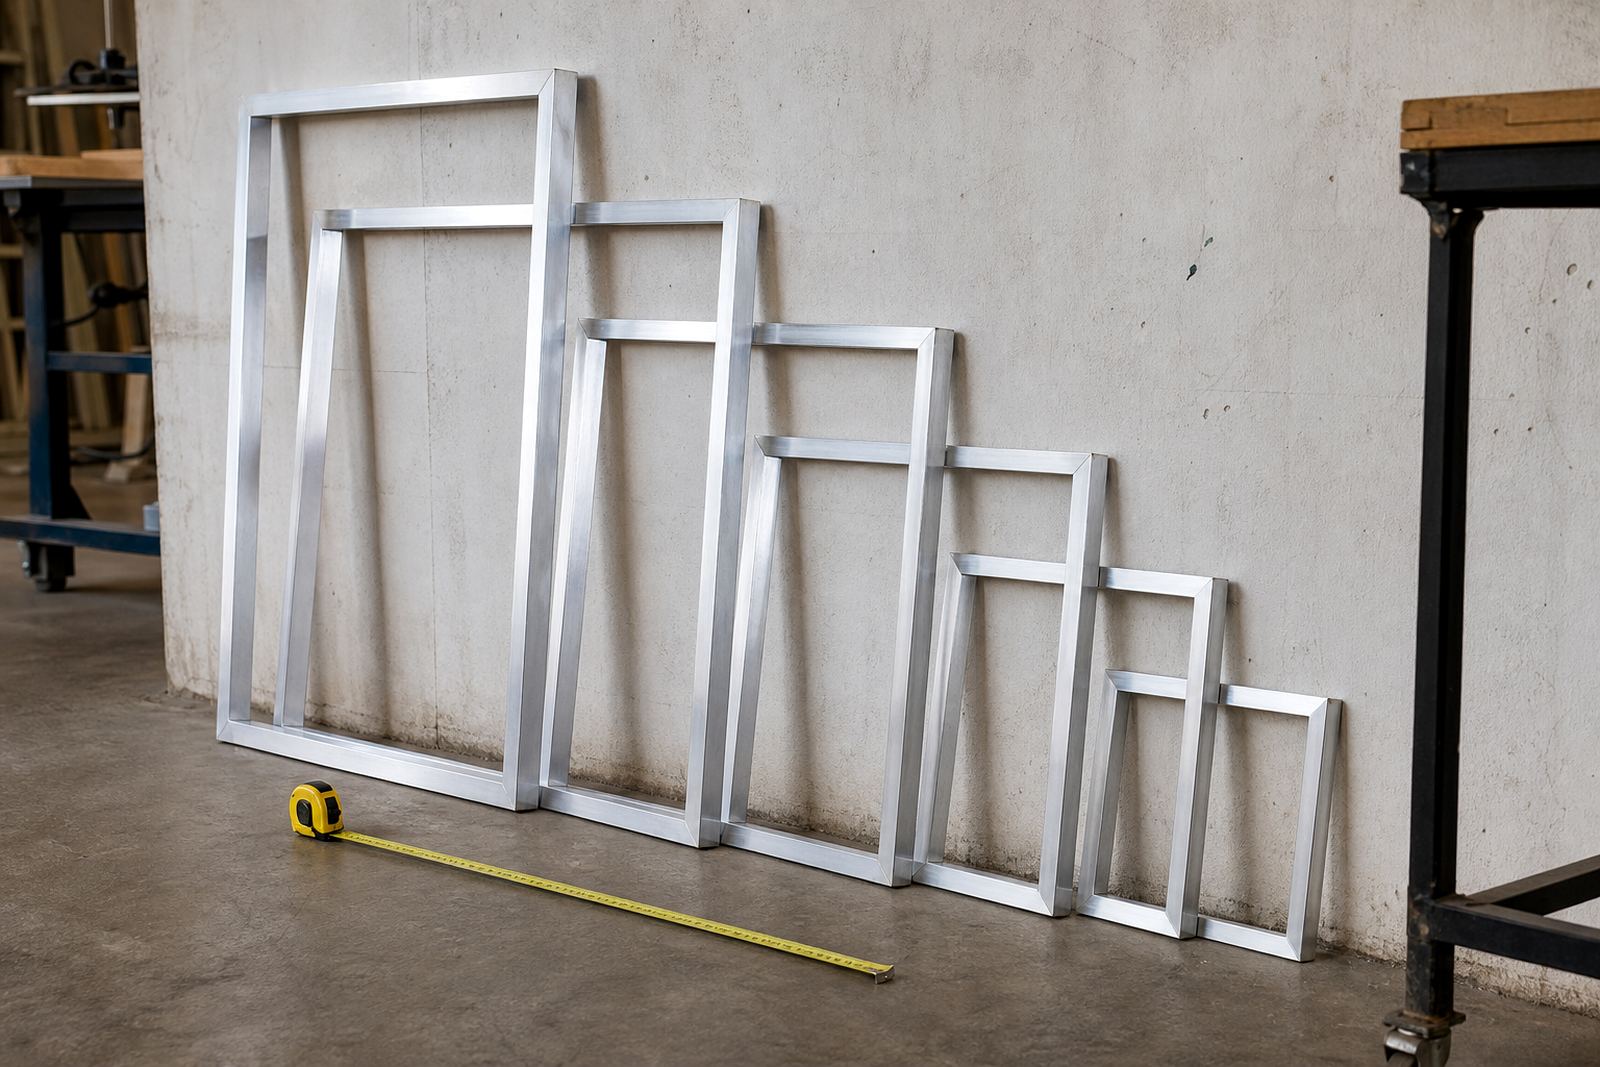
There is no single best size for every printer. In South Africa, the most practical frames are the ones that match the type of work you do day after day. Smaller frames are easier for short runs and fine detail. Larger frames suit full front prints, back prints and multi-colour jobs.
These are common options and where they usually fit best:
- 300 x 400 mm - Ideal for small logos, left chest prints, sleeve marks and label work.
- 400 x 500 mm - Good for one-colour tees, medium artwork and shorter production runs.
- 500 x 600 mm - A popular all-round size for front prints and general garment work.
- 600 x 700 mm - Better for larger artwork, oversized branding and mult-colour layouts.
- 700 x 900 mm and above - Used for bigger print areas, bulk production and more complex setups.
For many printers in Maitland, Bellville and Paarl, a mixed set of frames works better than one size only. That way you can keep small jobs moving without tying up your biggest screens on simple work.
Match Frame Size to the Job You Print Most
Think about your repeat work. If you mostly print small branding for schools, clubs or local businesses, oversized screens waste mesh and workshop time. If you run bigger garment orders, the wrong frame size can cause registration problems and poor ink control.
Here is a practical way to decide:
- Small logo work: Choose compact frames that are easy to handle and quick to clean.
- Standard T-shirt printing: Use medium frames that balance coverage and ease of use.
- Large artwork: Go for bigger frames with enough space around the stencil.
- Multi-colour work: Keep frame sizes consistent where possible so set-up stays predictable.
In busy shops, frame choice also affects storage and drying space. A workshop in Cape Town or Gqeberha with limited room may prefer fewer oversized frames and more sizes that rotate through the day. That keeps turnaround times shorter and helps during load-shedding because smaller batches are easier to manage.
How to Measure a Frame Before You Order
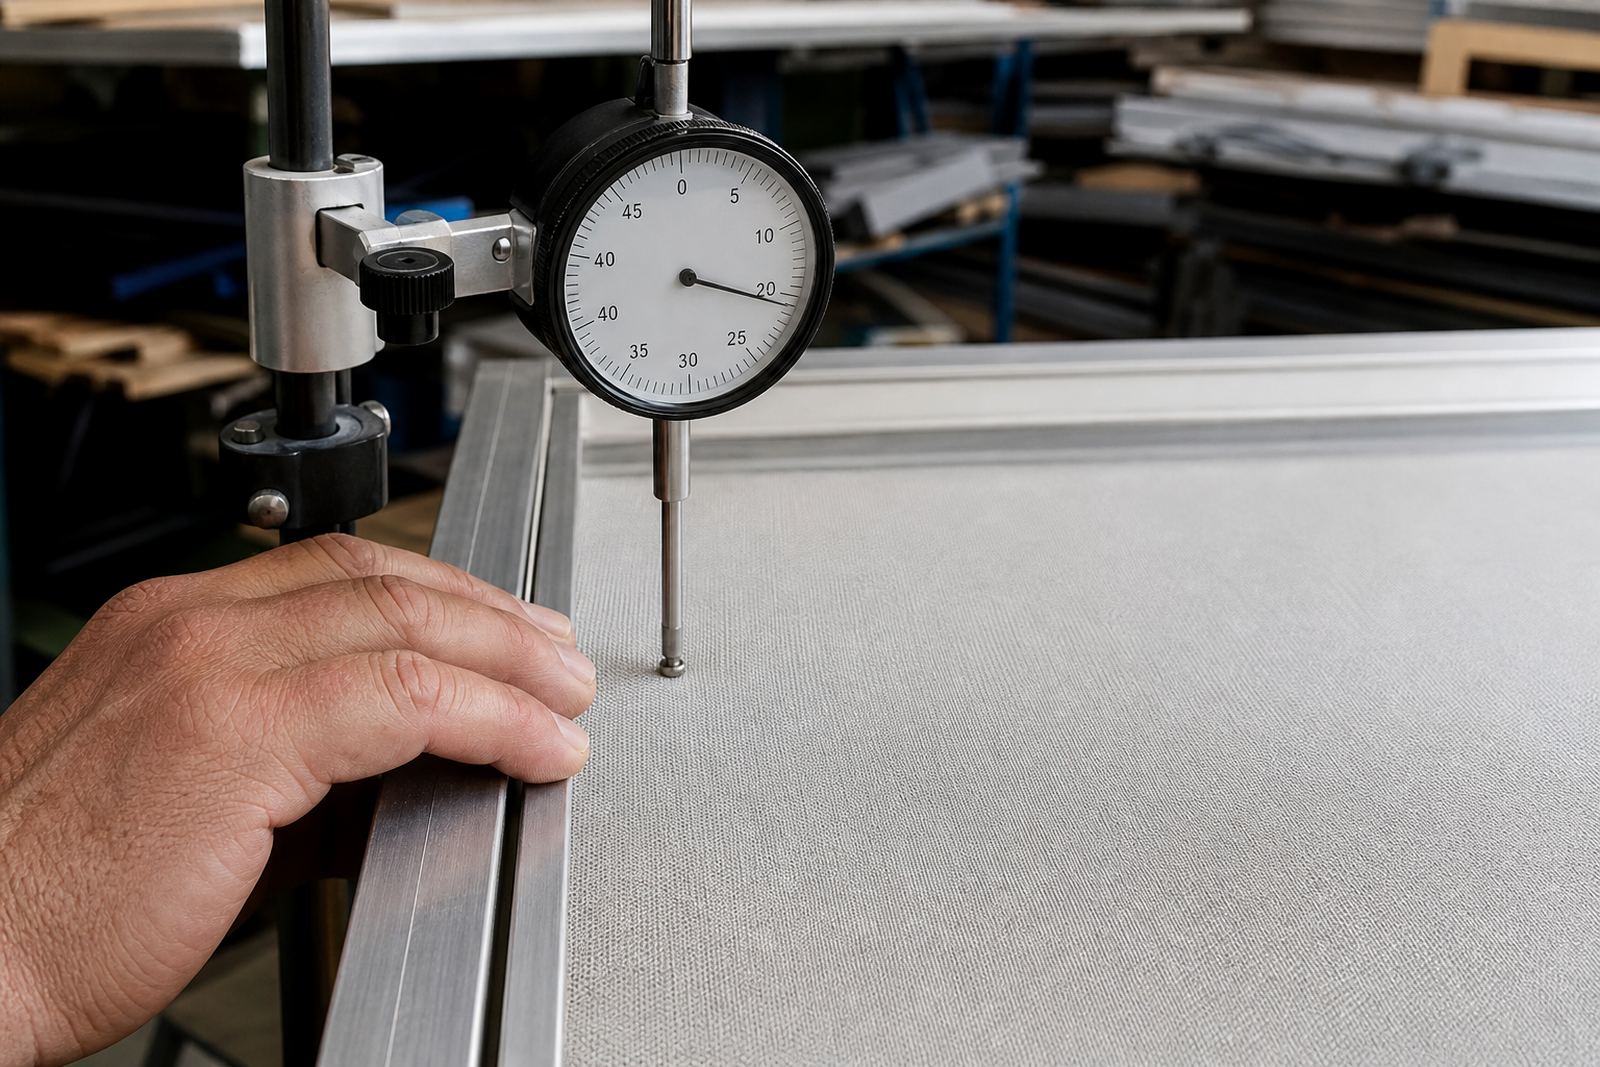
Measure the inside opening and the outside aluminium size if you are replacing or restretching a frame. Do not rely only on the old stencil area, because mesh shrinkage and repeated use can change the usable space. Check the frame corners too, as damaged corners can affect the true size.
Use a tape measure and note the dimensions in millimetres. If you are comparing two frames, measure both the same way so you are not mixing inside and outside measurements. A small error here can lead to a screen that is too tight, too loose or awkward to fit on your press.
- Measure width and height in mm.
- Check the frame depth and wall thickness.
- Look for bends, dents or corner wear.
- Confirm whether the frame is suitable for new stretching or restretching.
- Make sure the size suits your press clamps and drying racks.
If you are sending frames for service from Johannesburg, Pretoria or Durban, it helps to mark each one clearly before collection. That makes sorting faster and reduces mistakes on bulk orders.
When to Choose a Larger Frame
A larger frame is not only for bigger artwork. It can also improve production when you need stronger tension hold, better stencil clearance and more working room for repeat jobs. Many printers choose a bigger frame when the mesh must cope with longer runs or when the design sits close to the edge.
Choose a larger frame if you need:
- More room around the image for clean taping and sealing.
- Better stability for multi-colour registration.
- Space for oversize garments or full front designs.
- More comfortable handling during manual printing.
That said, bigger is not always better. A frame that is too large can be heavy, awkward on the press and slower to store. For smaller print shops, the best result often comes from a sensible mix of sizes rather than one huge frame for everything. It also helps when you need urgent turnarounds and have limited drying space after a power cut.
Quick Checklist Before You Send Frames for Stretching
Before you hand over or book in frames, do a quick check. This saves time, avoids surprises and helps the finished screen match the job properly. Whether you are ordering from Maitland, collecting in Bellville or receiving delivery in Pretoria, the same basics apply.
- Confirm the print size you need.
- Check whether the frame is new, used or for restretching.
- Remove old mesh and adhesive if required.
- Inspect corners, welds and side walls for damage.
- Note if you need a tight tension target for finer detail.
- Decide if you need pickup and return or collection.
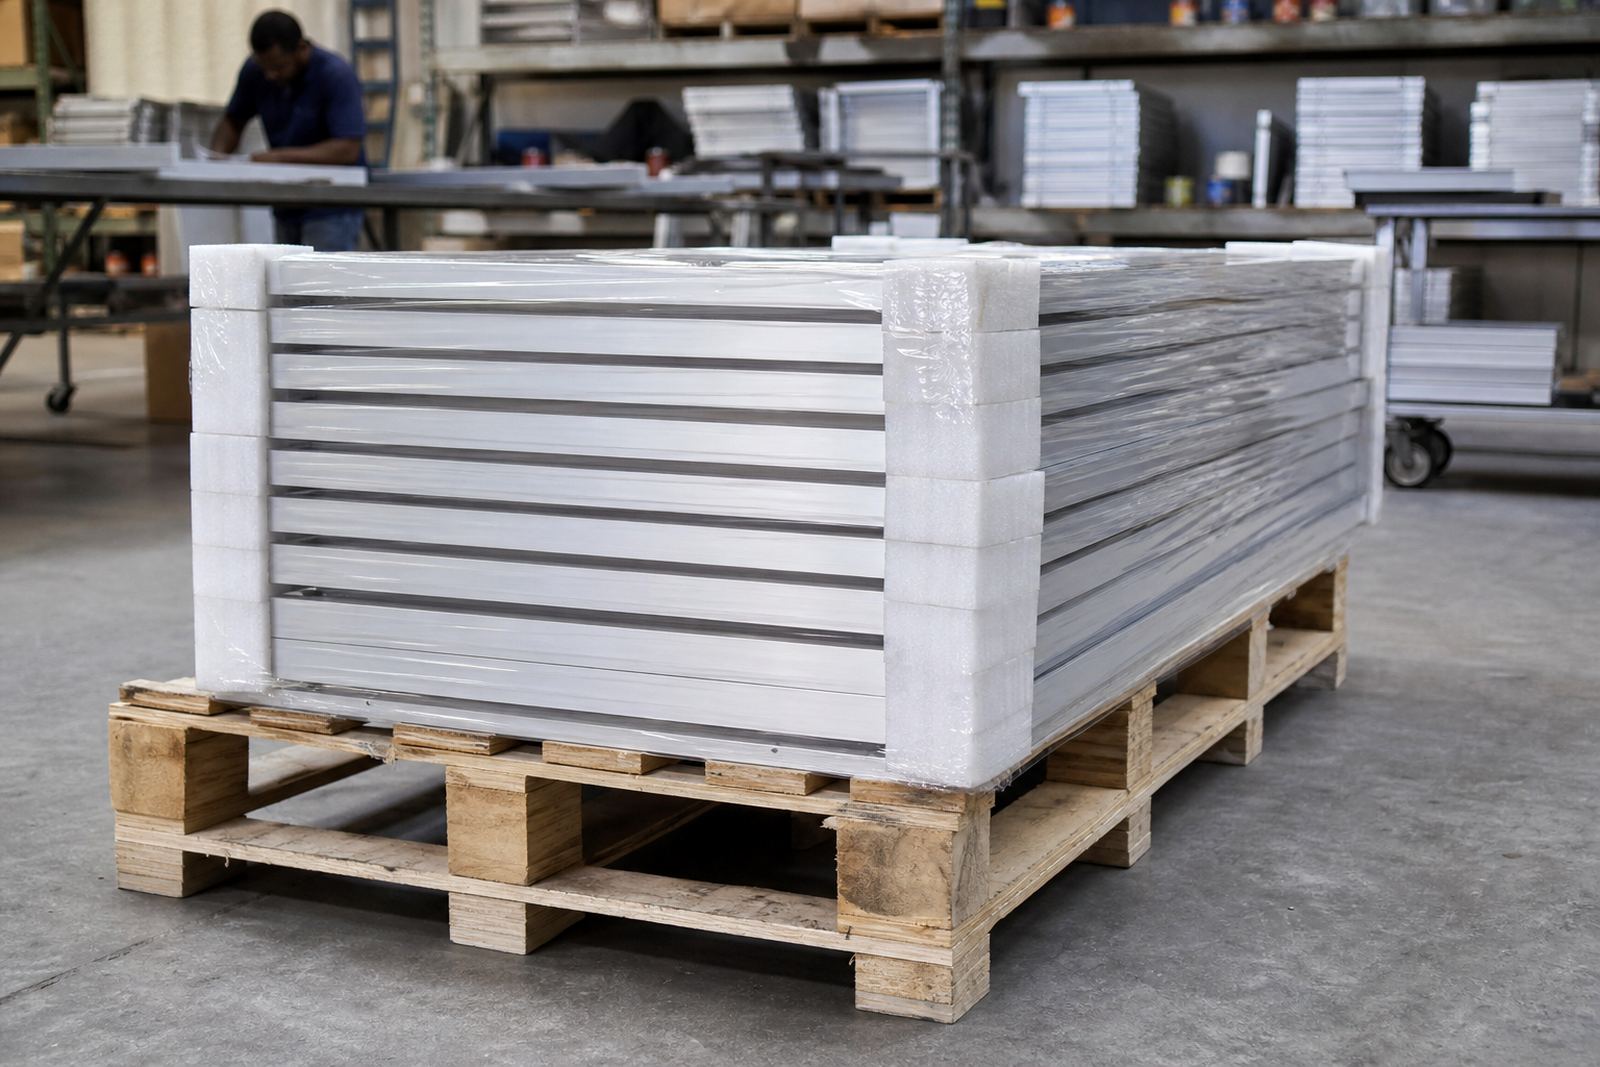
For bulk work, it helps to group frames by size and job type before they arrive. That keeps the workshop process cleaner and makes it easier to plan around production peaks, coastal humidity and delivery schedules across South Africa. A clear job list also helps if you need screen care advice after the frames come back.